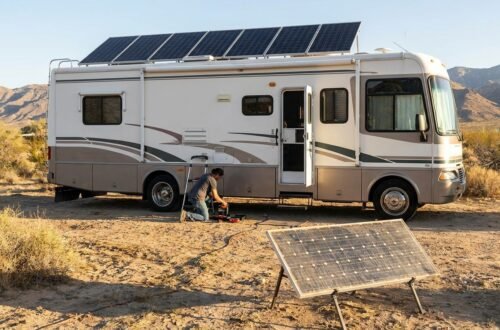
Switching to solar power in your RV opens up incredible freedom for off-grid camping, but finding best RV solar kits for beginners can feel overwhelming. With dozens of options ranging from simple plug-and-play systems to complex custom builds, finding the best starting point requires understanding what each kit actually delivers. The right solar setup transforms your RV experience by powering appliances, charging devices, and extending your boondocking adventures without relying on noisy generators or crowded campgrounds.
For beginners, the best RV solar kits balance ease of installation, reliable performance, and room to expand as your needs grow. Popular entry-level options include the Renogy 400W starter kit with a straightforward mounting system, the Eco-Worthy 800W complete bundle offering serious power capacity, and the Newpowa 200W flexible panel kit for curved RV roofs. Each brings distinct advantages depending on your power requirements, installation comfort level, and budget constraints. Understanding these key differences helps you match the right system to your specific camping style.
Understanding RV Solar Kit Components
Every complete RV solar kit contains four essential components that work together to capture, convert, and store solar energy. Solar panels mounted on your roof collect sunlight and convert it into electricity. The charge controller regulates power flow to prevent battery damage from overcharging. Batteries store the energy for use when the sun isn’t shining. Finally, wiring and mounting hardware connect everything safely and securely.
Most beginner kits include all these pieces in one package, eliminating the guesswork of matching compatible components. However, the quality and specifications of each component vary dramatically between manufacturers. A 400-watt kit from one brand might outperform a 600-watt kit from another due to better efficiency ratings, more reliable charge controllers, or superior panel construction.
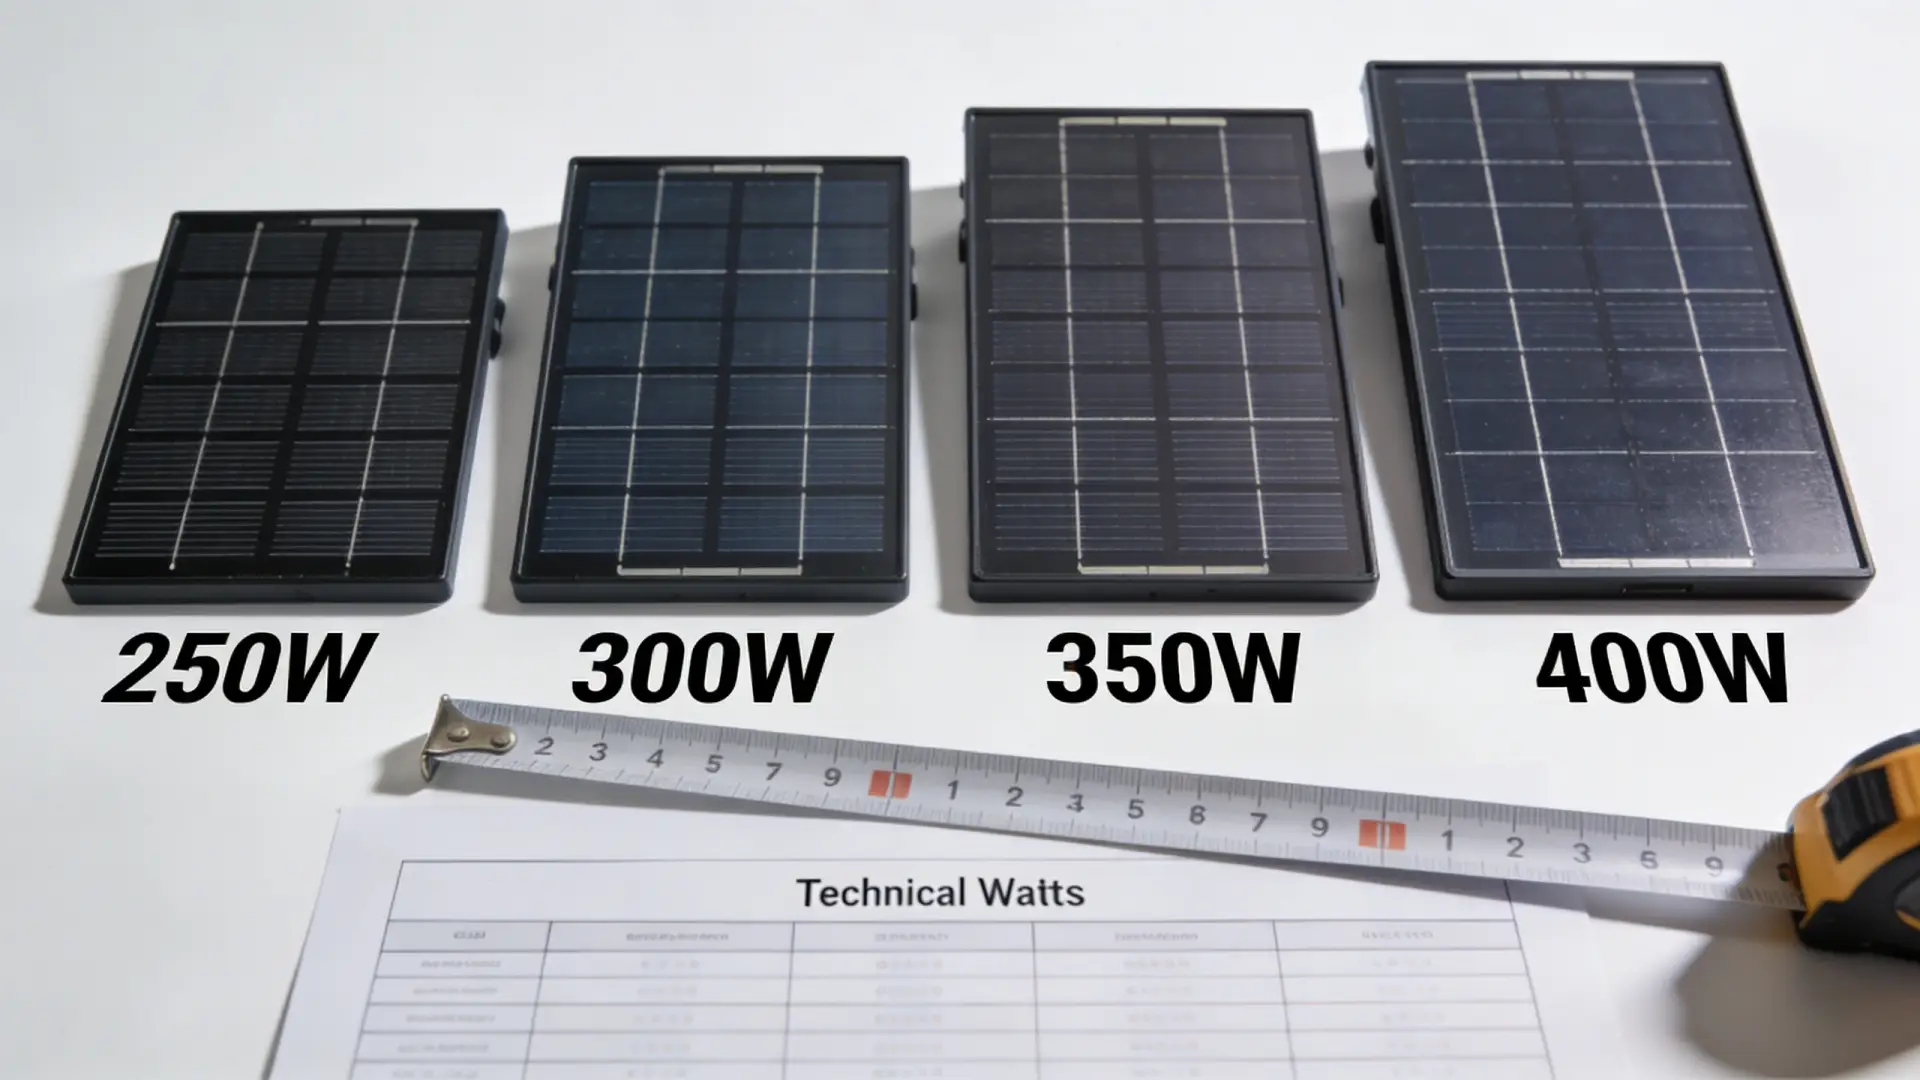
The wattage rating tells you the maximum power output under ideal conditions—full sun, perfect angle, moderate temperatures. In practice, you’ll typically get 60-80% of rated capacity during real-world use. Therefore, a 400-watt system might deliver 240-320 watts on an average sunny day. Understanding this difference prevents disappointment and helps you size your system appropriately for your actual power needs.
Before selecting any kit, check whether batteries are included. Many “complete” kits surprisingly exclude batteries, assuming you’ll use your existing RV house batteries or purchase them separately. Additionally, consider whether you need an inverter to convert 12V DC power to 120V AC for running standard household appliances. Some advanced kits bundle inverters, while budget options leave this for separate purchase.
Renogy 400W vs Eco-Worthy 800W: Power Capacity Showdown
The Renogy 400W Starter Kit represents the sweet spot for many first-time solar users. This configuration typically includes four 100-watt monocrystalline panels, a 40-amp MPPT charge controller, mounting brackets, and all necessary cables. Moreover, Renogy’s reputation for quality customer support and comprehensive installation manuals makes this kit particularly beginner-friendly. The system comfortably powers LED lighting, phone chargers, laptops, and smaller appliances like fans or a TV.
Conversely, the Eco-Worthy 800W Complete Kit doubles the power capacity with eight 100-watt panels. This substantial upgrade suits RVers planning extended boondocking trips or those running power-hungry appliances like microwaves, coffee makers, or residential refrigerators. The larger system requires significantly more roof space—approximately 40 square feet versus 20 for the 400W setup. Therefore, you’ll need to measure your available mounting area carefully before committing to this option.
| Feature | Renogy 400W | Eco-Worthy 800W |
|---|---|---|
| Total Wattage | 400W (4x100W panels) | 800W (8x100W panels) |
| Controller Type | 40A MPPT | 60A MPPT |
| Roof Space Required | ~20 sq ft | ~40 sq ft |
| Daily Energy (avg) | 1,600-2,000 Wh | 3,200-4,000 Wh |
| Best For | Weekend trips, basic power needs | Full-time RVing, heavy power usage |
| Approximate Price Range | $800-$1,000 | $1,400-$2,400 |
Installation complexity increases with the larger system since you’re mounting twice as many panels and running longer cable runs. Additionally, the 800W system generates more heat during operation, requiring better ventilation around the charge controller. For detailed guidance on calculating your specific power requirements, check out our guide to determining how many solar panels you need for an RV.
Renogy 400W Pros
- Excellent customer support and documentation
- Fits most RV roofs comfortably
- MPPT controller maximizes efficiency
- Proven reliability in real-world conditions
- Easier installation for beginners
Renogy 400W Cons
- May be insufficient for power-hungry appliances
- Higher price point than some competitors
- Battery sold separately
- Limited expansion without adding another controller
Eco-Worthy 800W Pros
- Substantial power for extended off-grid living
- Better value per watt than smaller systems
- 60A controller handles high current efficiently
- Runs energy-intensive appliances comfortably
Eco-Worthy 800W Cons
- Requires significant roof space
- More complex installation process
- Heavier total weight on roof structure
- Overkill for casual weekend campers
- Customer support less comprehensive than Renogy
Rigid vs Flexible Solar Panels for RV Roofs
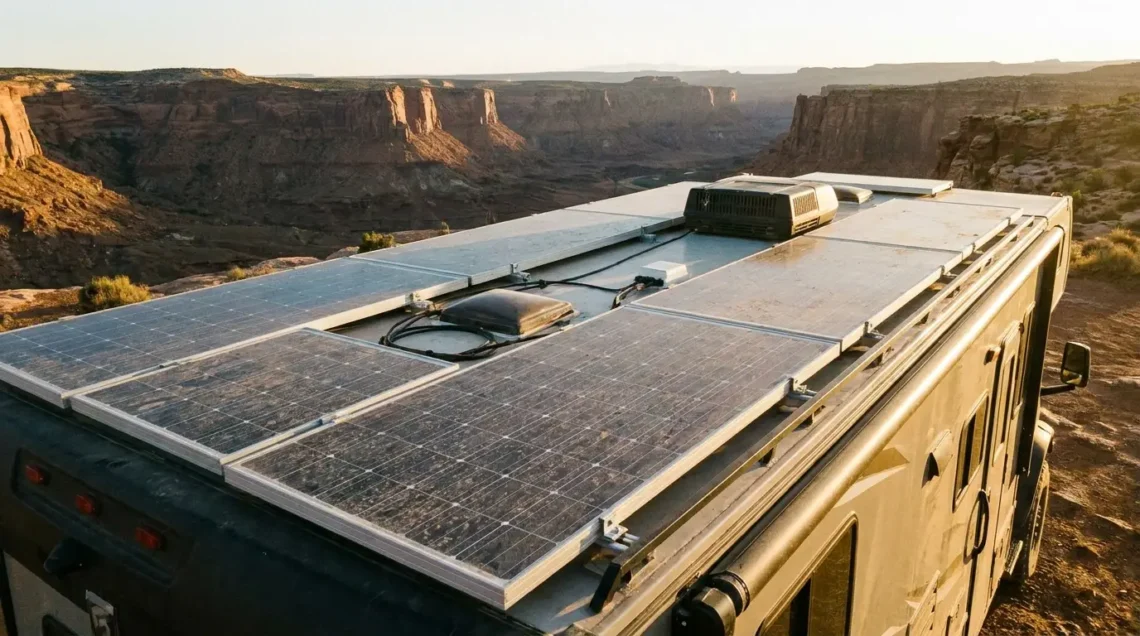
Rigid monocrystalline panels dominate the RV solar market due to their superior efficiency, durability, and longevity. These glass-covered panels mount on aluminum frames and typically last 25-30 years with minimal performance degradation. The rigid construction withstands highway speeds, hail impacts, and extreme weather conditions. Furthermore, the air gap between panel and roof created by mounting brackets improves cooling, which maintains better efficiency during hot summer days.
Flexible solar panels offer unique advantages for curved RV roofs, Airstream trailers, or situations where weight becomes critical. These lightweight panels weigh approximately 70% less than rigid equivalents and conform to curved surfaces that rigid panels cannot accommodate. The low profile reduces wind resistance and presents a sleeker aesthetic appearance. However, flexibility comes with significant trade-offs that beginners should understand before committing.
The primary disadvantage of flexible panels involves heat management. Without airflow underneath, flexible panels mounted directly to roof surfaces run 15-20 degrees hotter than elevated rigid panels. This temperature increase reduces efficiency by 10-15% and accelerates degradation over time. Consequently, flexible panels typically carry shorter warranties—often 5-10 years versus 25 years for rigid panels. They also cost more per watt, making them a premium option justified only by specific installation requirements.
Installation simplicity represents another consideration. Flexible panels attach using adhesive backing or industrial-strength tape, eliminating the need for drilling mounting holes through your RV roof. This approach appeals to those concerned about potential leak points. Nevertheless, rigid panel installation with proper sealant and mounting feet rarely causes problems when done correctly. Our ultimate RV solar power system guide covers installation best practices in detail.
When to Choose Flexible Panels
Flexible panels make sense in specific scenarios despite their limitations. Owners of vintage Airstream trailers with curved aluminum roofs have few alternatives. Similarly, pop-up campers and folding trailers benefit from the reduced weight and ability to remove panels when collapsed. Additionally, portable flexible panels work well for ground deployment when parking in shaded campsites, though dedicated portable kits with built-in stands often perform better for this purpose.
PWM vs MPPT Charge Controllers Explained

The charge controller represents the brain of your solar system, and understanding the difference between PWM and MPPT technology directly impacts your system’s real-world performance. PWM (Pulse Width Modulation) controllers use simpler technology that essentially connects panels directly to batteries, pulling them down to battery voltage. This approach works adequately when panel voltage closely matches battery voltage, but it wastes potential power in many conditions.
MPPT (Maximum Power Point Tracking) controllers employ sophisticated electronics to convert excess voltage into additional current. This conversion extracts 20-30% more power from your panels compared to PWM controllers, especially during cold weather or low-light conditions. The efficiency advantage justifies the higher cost for systems 200 watts and larger. For smaller systems under 200 watts, the price premium of MPPT controllers may exceed the value of additional power captured.
Temperature dramatically affects this comparison. Solar panels actually produce higher voltage in cold weather, while battery voltage remains relatively constant. MPPT controllers capitalize on this voltage surplus by converting it into extra charging current. Conversely, PWM controllers simply waste this potential energy. During winter camping in northern climates, MPPT systems routinely outperform PWM equivalents by 35-40%.
Brand quality matters significantly more for charge controllers than for panels. A poorly designed controller can damage batteries through improper charging algorithms or fail prematurely due to inadequate heat dissipation. Victron Energy, Renogy, and Morningstar manufacture controllers with proven reliability and advanced features like Bluetooth monitoring and customizable charging profiles. Budget controllers from unknown manufacturers occasionally work fine but lack the refined programming and build quality that protects your expensive battery investment.
Complete Kit Comparison: What’s Included
Package contents vary wildly between manufacturers, making direct price comparisons deceptive without examining what each kit actually includes. Some “complete” kits provide everything except batteries, while others omit critical components like MC4 connectors, mounting brackets, or even the charge controller itself. Always verify the complete parts list before purchasing to avoid frustrating surprises during installation.
Premium kits from established manufacturers typically include comprehensive mounting hardware engineered specifically for RV applications. These Z-brackets accommodate the 1-2 inch air gap needed for cooling while distributing weight across multiple roof rafters. Quality kits also provide appropriate wire gauges for safe current handling—typically 10 AWG for 30-40 amp systems. Cheap wire creates voltage drop that wastes power and generates heat.
| Kit Component | Budget Kits | Mid-Range Kits | Premium Kits |
|---|---|---|---|
| Solar Panels | Included (basic efficiency) | Included (high efficiency) | Included (premium monocrystalline) |
| Charge Controller | PWM only | MPPT standard | MPPT with Bluetooth monitoring |
| Mounting Hardware | Basic L-brackets | Z-brackets with hardware | Adjustable tilt mounts |
| Wiring & Connectors | Minimal (often undersized) | Adequate gauge for rated amperage | Premium cables, roof entry gland |
| Battery | Not included | Not included | Sometimes included (AGM) |
| Installation Manual | Basic instructions | Detailed guide with diagrams | Comprehensive manual + video support |
| Warranty | 1 year limited | 5 years panels, 1-2 years electronics | 25 years panels, 5 years controller |
Inverters rarely come bundled with basic solar kits since power conversion needs vary dramatically between users. Someone running only 12V DC appliances doesn’t need an inverter at all, while others require 2000-3000 watt pure sine wave inverters for microwaves and other AC appliances. Purchasing inverters separately allows better matching to your specific requirements rather than accepting whatever the kit manufacturer chose.
Hidden Costs to Consider
Several expenses lurk beyond the kit’s advertised price. Batteries represent the largest additional cost, with quality lithium batteries running $800-$1,200 per 100Ah and AGM batteries costing $200-$400 for similar capacity. You’ll also need roof sealant (Dicor or similar) for waterproofing penetrations, properly sized fuses or breakers for safety, and potentially a battery monitor to track your system’s state of charge. Budget an additional 30-50% beyond the kit price for these essential accessories.
Installation Difficulty: DIY-Friendly vs Professional Setup

Most beginner-friendly RV solar kits can be installed by moderately handy individuals with basic tools over a weekend. The process involves mounting panels to the roof, routing cables through a roof penetration or existing entry point, connecting the charge controller, and wiring everything to your battery bank. Step-by-step instructions and abundant YouTube tutorials make this achievable for DIY enthusiasts willing to work carefully and methodically.
The most intimidating aspect for beginners involves creating a watertight roof penetration for cables. However, this challenge has multiple solutions depending on your comfort level. Dedicated cable entry glands designed for RV roofs provide foolproof waterproofing when installed with proper sealant. Alternatively, you can route cables through existing refrigerator vents, plumbing vents, or other openings to avoid creating new penetrations. Some installers even run cables along the exterior and through an existing service compartment.
Electrical connections require attention to polarity and proper sizing but don’t demand advanced electrical knowledge. Charge controllers clearly label positive and negative terminals for both panel and battery connections. The critical safety element involves installing appropriately sized fuses between your battery and charge controller—typically 40-60 amps for common systems. This protection prevents catastrophic battery fires if wiring ever shorts. For comprehensive safety guidelines, our RV battery setup guide covers proper installation techniques.
Professional installation typically costs $300-$800 depending on system complexity and regional labor rates. This investment makes sense if you’re uncomfortable working on your roof, lack the necessary tools, or simply prefer the peace of mind that comes with professional workmanship and warranty coverage. Many RV service centers offer solar installation as a standard service, though mobile RV technicians often charge less than dealerships.
Expandability and Future-Proofing Your System
Starting with a smaller system and expanding later offers financial flexibility, but only if you plan for expansion from the beginning. The charge controller represents the primary limitation—a 40-amp controller maxes out around 500-600 watts of panels, while a 60-amp controller handles up to 900 watts. Purchasing a controller with excess capacity initially costs $50-$100 more but eliminates expensive upgrades later. This approach proves especially valuable if you’re uncertain about your long-term power requirements.
Panel compatibility matters when mixing brands or ages of panels. While technically possible, combining panels with different voltage or current characteristics reduces system efficiency. The charge controller operates at the lowest common denominator, limiting better panels to match poorer performers. Consequently, purchasing all panels simultaneously or buying extras to store for future expansion makes sense if you anticipate system growth.
Battery bank expansion follows different rules than solar panel additions. Batteries connected in parallel should ideally match in age, capacity, and chemistry to prevent imbalanced charging that shortens lifespan. Adding new batteries to a bank of old batteries forces the new ones to work harder, accelerating their degradation. For battery-related planning considerations, see our article on common rv battery mistakes beginners make