
If you’re thinking about life on the road in an RV, energy independence becomes a real concern. Many new RV owners discover that traditional generator-only setups mean expensive fuel costs, constant noise, and limited flexibility for where they can camp. Solar power changes that equation completely—offering quiet, renewable energy that works whether you’re parked at a campground or exploring remote areas off the grid.
Understanding RV solar systems doesn’t require an engineering degree. The fundamentals are straightforward: solar panels capture sunlight, a charge controller regulates the power, batteries store the energy, and an inverter converts it for your appliances. Getting these components working together efficiently means knowing what each one does and how to size them for your actual lifestyle. Whether you’re planning weekend getaways or full-time travel, a well-designed solar setup can dramatically improve your freedom and comfort.
The Core Components of RV Solar Systems
A functional solar setup for your motorhome consists of four essential components working in harmony. Each piece serves a specific purpose, and understanding what they do helps you make informed decisions about your system.
Solar Panels: Your Energy Source
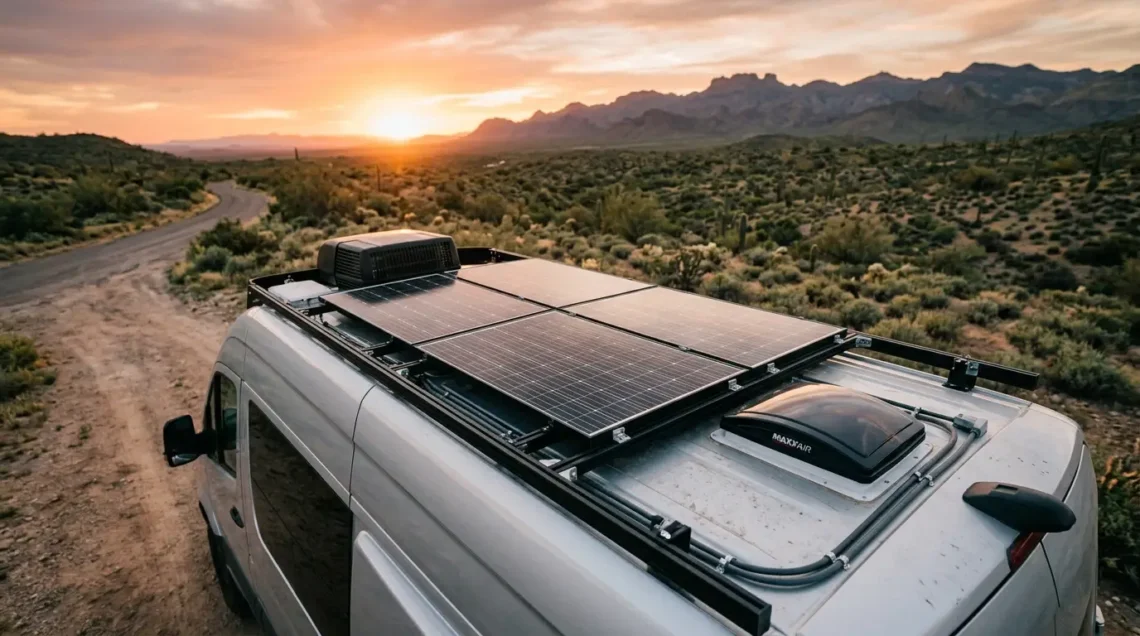
Solar panels are the foundation of any RV solar system. They convert sunlight directly into electricity through the photovoltaic effect. Most modern RV installations use monocrystalline panels because they’re more efficient than older polycrystalline designs and take up less roof space—a critical consideration when you’re working with limited real estate on a motorhome.
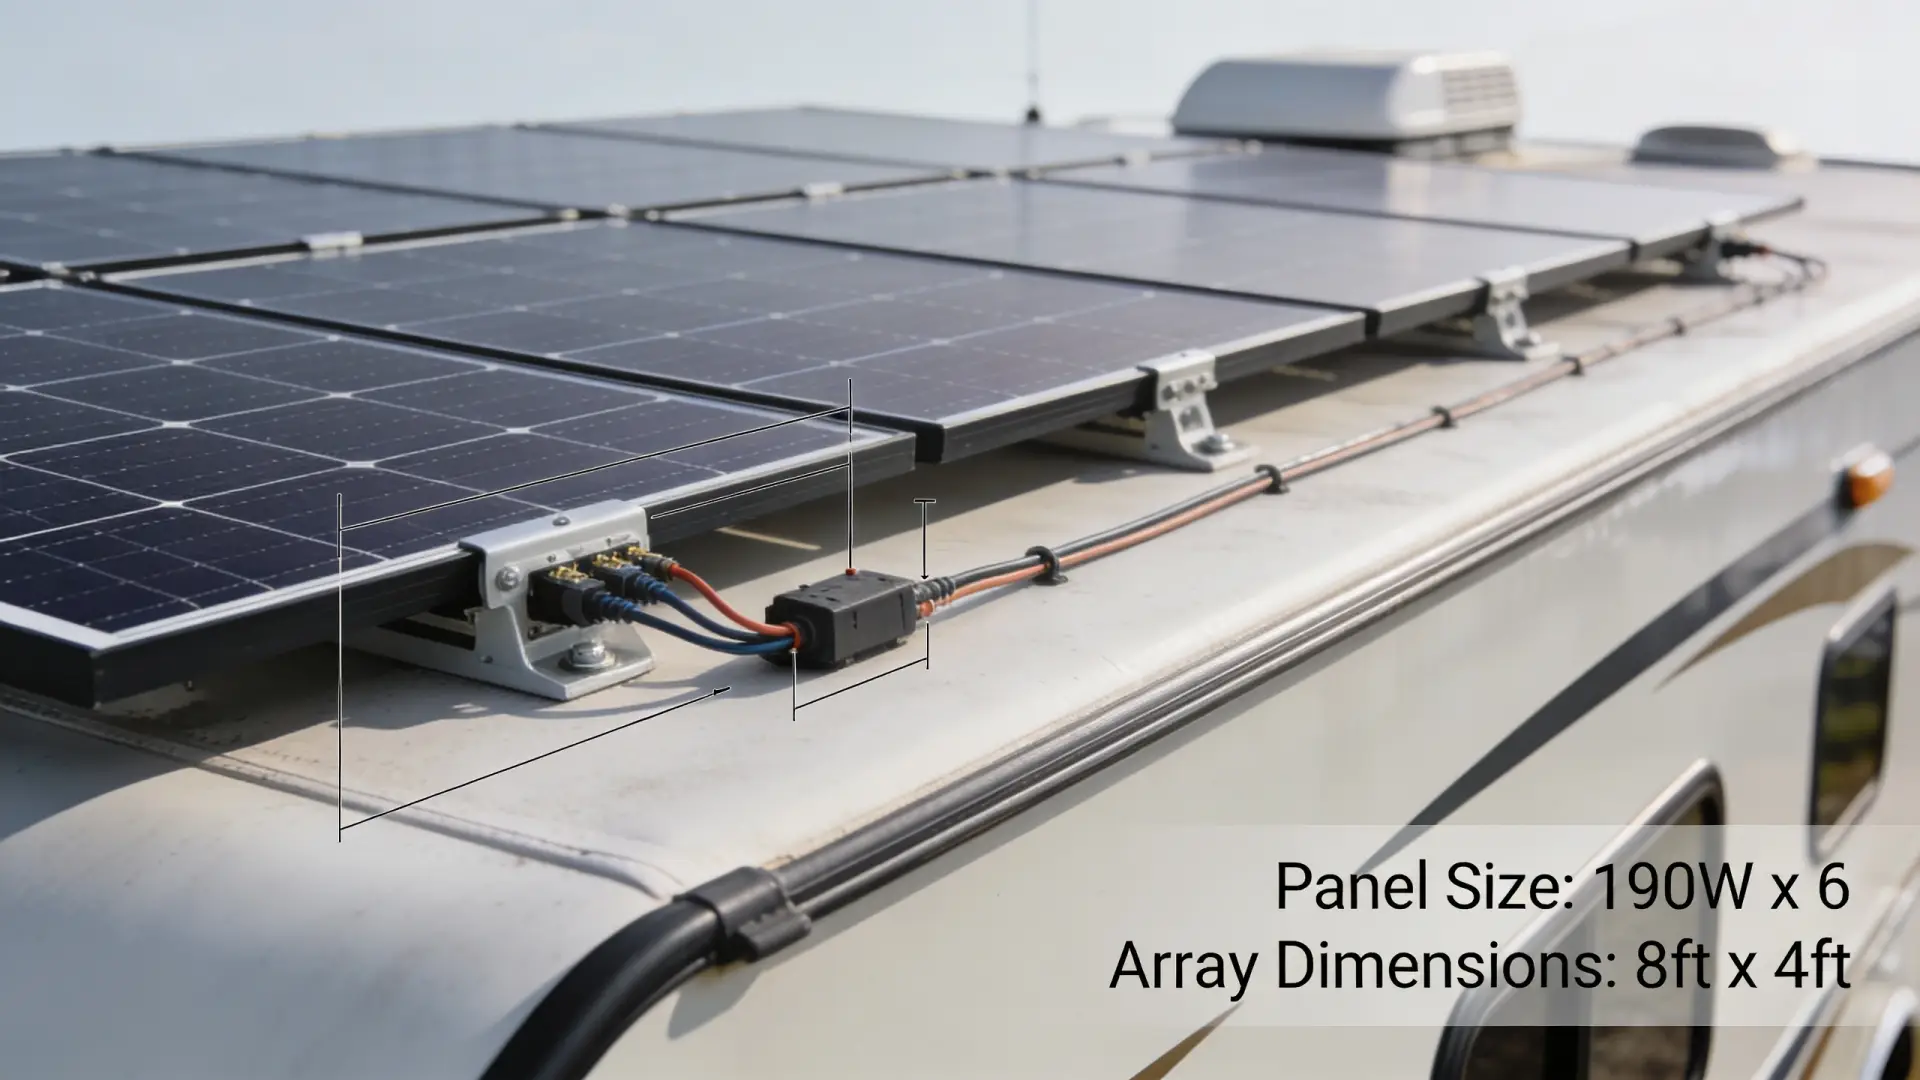
Panels come in various wattages, typically ranging from 100 watts to 400 watts per panel. The wattage rating tells you how much power the panel generates under ideal conditions (full sun, optimal angle). However, what works on a sunny day in Arizona differs dramatically from winter conditions in northern climates. This is why sizing your panels correctly based on your actual usage patterns matters far more than simply buying the largest panels available.
Charge Controllers: The Smart Regulator
A charge controller sits between your panels and batteries, acting as the system’s intelligence. It prevents overcharging by regulating the voltage and current flowing into your battery bank. Think of it as a bouncer—letting the right amount of power through while stopping excess current that could damage your batteries.
Two main types exist: PWM (Pulse Width Modulation) and MPPT (Maximum Power Point Tracking). MPPT controllers are more efficient and cost-effective in most RV applications because they optimize the power conversion. In real-world testing, upgrading from PWM to MPPT typically yields 15-25% more power from the same panel array, making it worth the additional investment for most full-time travelers.
Battery Banks: Your Energy Storage
Batteries store the energy your panels generate so you can use it when the sun isn’t shining. Lithium iron phosphate (LiFePO4) batteries have become the standard for newer systems because they last longer, charge faster, and allow deeper discharges than traditional lead-acid alternatives. A typical RV solar system uses between 200 and 400 amp-hours of battery capacity, though this varies widely based on your power consumption and usage patterns.
The battery bank’s capacity directly impacts your independence. A larger bank means more days of autonomy if you encounter cloudy weather. However, larger banks also mean higher upfront costs. Matching your battery capacity to realistic usage—not worst-case scenarios—keeps costs reasonable while maintaining practical flexibility.
Inverters: Converting DC to AC
Your panels and batteries operate on direct current (DC), but most RV appliances run on alternating current (AC). An inverter handles this conversion, allowing you to run standard 120-volt appliances like laptops, microwaves, and entertainment systems. Sizing your inverter depends on what you want to run simultaneously; a 3,000-watt inverter handles most RV needs, though some setups use smaller 2,000-watt models for occasional use.
Sizing Your System for Your Needs
The most common mistake RV owners make is guessing at system size instead of calculating it based on actual power consumption. Getting this right determines whether your solar investment provides genuine freedom or frustration.
Calculating Your Daily Power Usage
Start by tracking what you actually use. Most RV refrigerators draw 40-60 amps per day. Water heaters, air conditioning, and microwave ovens consume significant power. Smaller items—LED lights, laptop charging, fan operation—add up gradually throughout the day. Your goal is understanding your worst-case daily draw, which often occurs during winter or cloudy periods.
A practical approach involves monitoring your system for a month using an amp-hour meter. This real-world data beats any generic estimate. You’ll discover that your usage patterns differ from other RVers’ experiences. Some families run air conditioning heavily; others prioritize efficiency and use fans instead. Your system should match your actual habits, not industry averages.
Accounting for Weather and Seasons
Solar production varies dramatically based on location and season. Summer in the Southwest produces abundant power; winter in the Pacific Northwest produces far less. The solar industry uses “peak sun hours”—the equivalent number of hours per day when sunlight intensity matches standard test conditions. Most locations receive 3-5 peak sun hours daily on average, with seasonal variation of plus or minus 50%.
A realistic approach involves planning for 60-70% of theoretical maximum output. This conservative estimate accounts for panels being angled suboptimally at different campsites, dust accumulation, and seasonal sun angles. When you design your system to handle reduced winter production, you’ve built in resilience for real-world conditions.
The Battery Capacity Decision
Your battery bank should store enough energy for at least 2-3 days of autonomous operation. This provides a safety buffer during extended cloudy weather without requiring backup power. For a family using 100 amp-hours daily, a 300 amp-hour battery bank offers reasonable security. Some full-time travelers opt for 400-500 amp-hours to maximize independence, accepting the higher cost for greater peace of mind.
| Usage Level | Daily Amp-Hours | Recommended Battery Bank | Typical Panel Array |
|---|---|---|---|
| Light (boondocking) | 40-60 Ah/day | 200-300 Ah | 400-600W |
| Moderate (mixed travel) | 80-120 Ah/day | 300-400 Ah | 800-1200W |
| Heavy (frequent AC use) | 150+ Ah/day | 400-600 Ah | 1500-2000W |
Installation Basics and Best Practices
Proper installation determines whether your system operates safely and efficiently for years. Several critical considerations affect both performance and longevity. If you’re planning your first RV trip, understanding these installation fundamentals helps you evaluate whether to DIY or hire professionals.
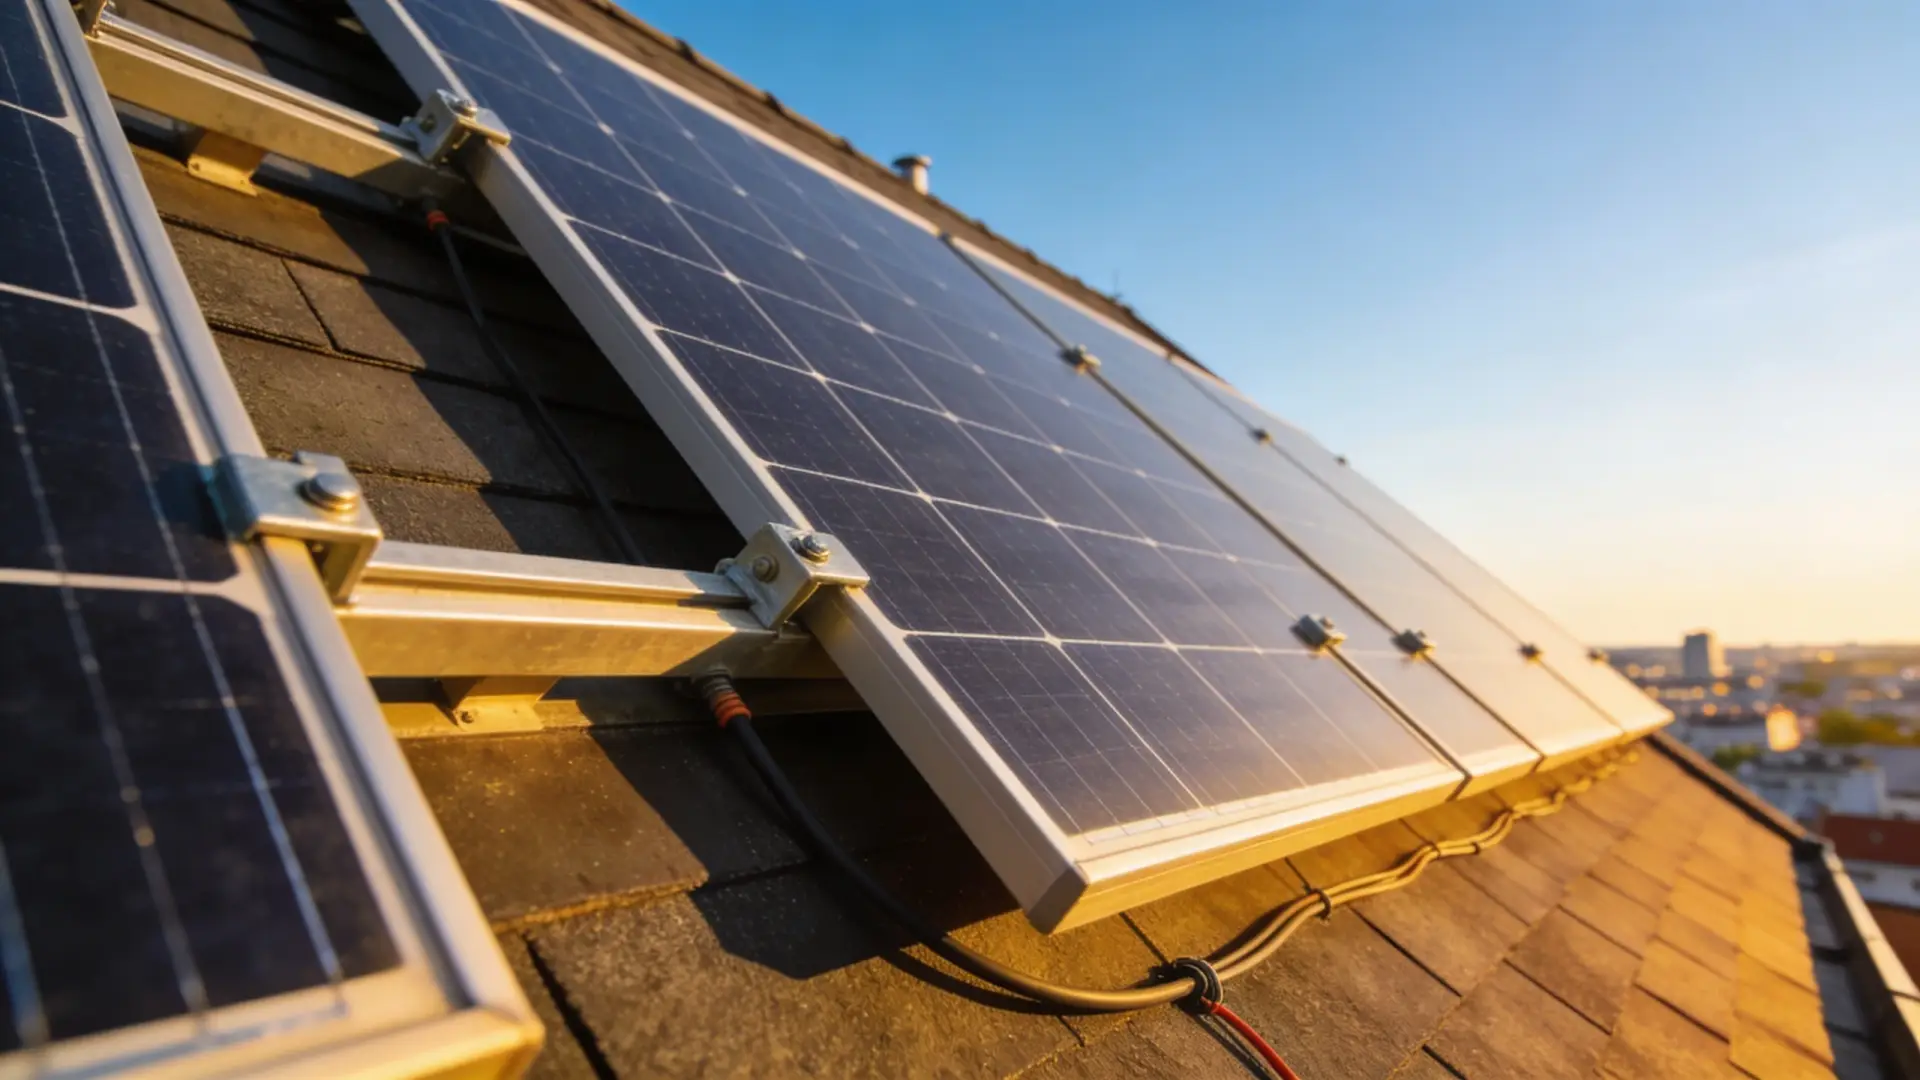
Roof Panel Placement and Mounting
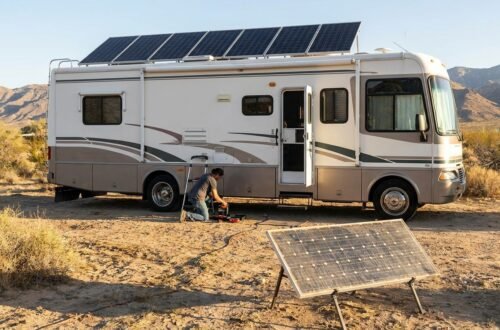
Panel placement affects both performance and your RV’s aesthetics and weight distribution. Rooftop mounting is most common, providing good exposure to sunlight throughout the day. However, panels shaded by air conditioning units, antennas, or roof vents lose significant generating capacity—even partial shade reduces output dramatically. Proper spacing and orientation matter.
Weight is another consideration. A typical 400-watt panel array (around 1,200 pounds) requires structural reinforcement on many RVs. Distributing the weight across your roof’s strongest points prevents stress on the frame. Using appropriate marine-grade sealant around penetrations prevents water intrusion, which causes problems inside your walls.
Wiring and System Safety
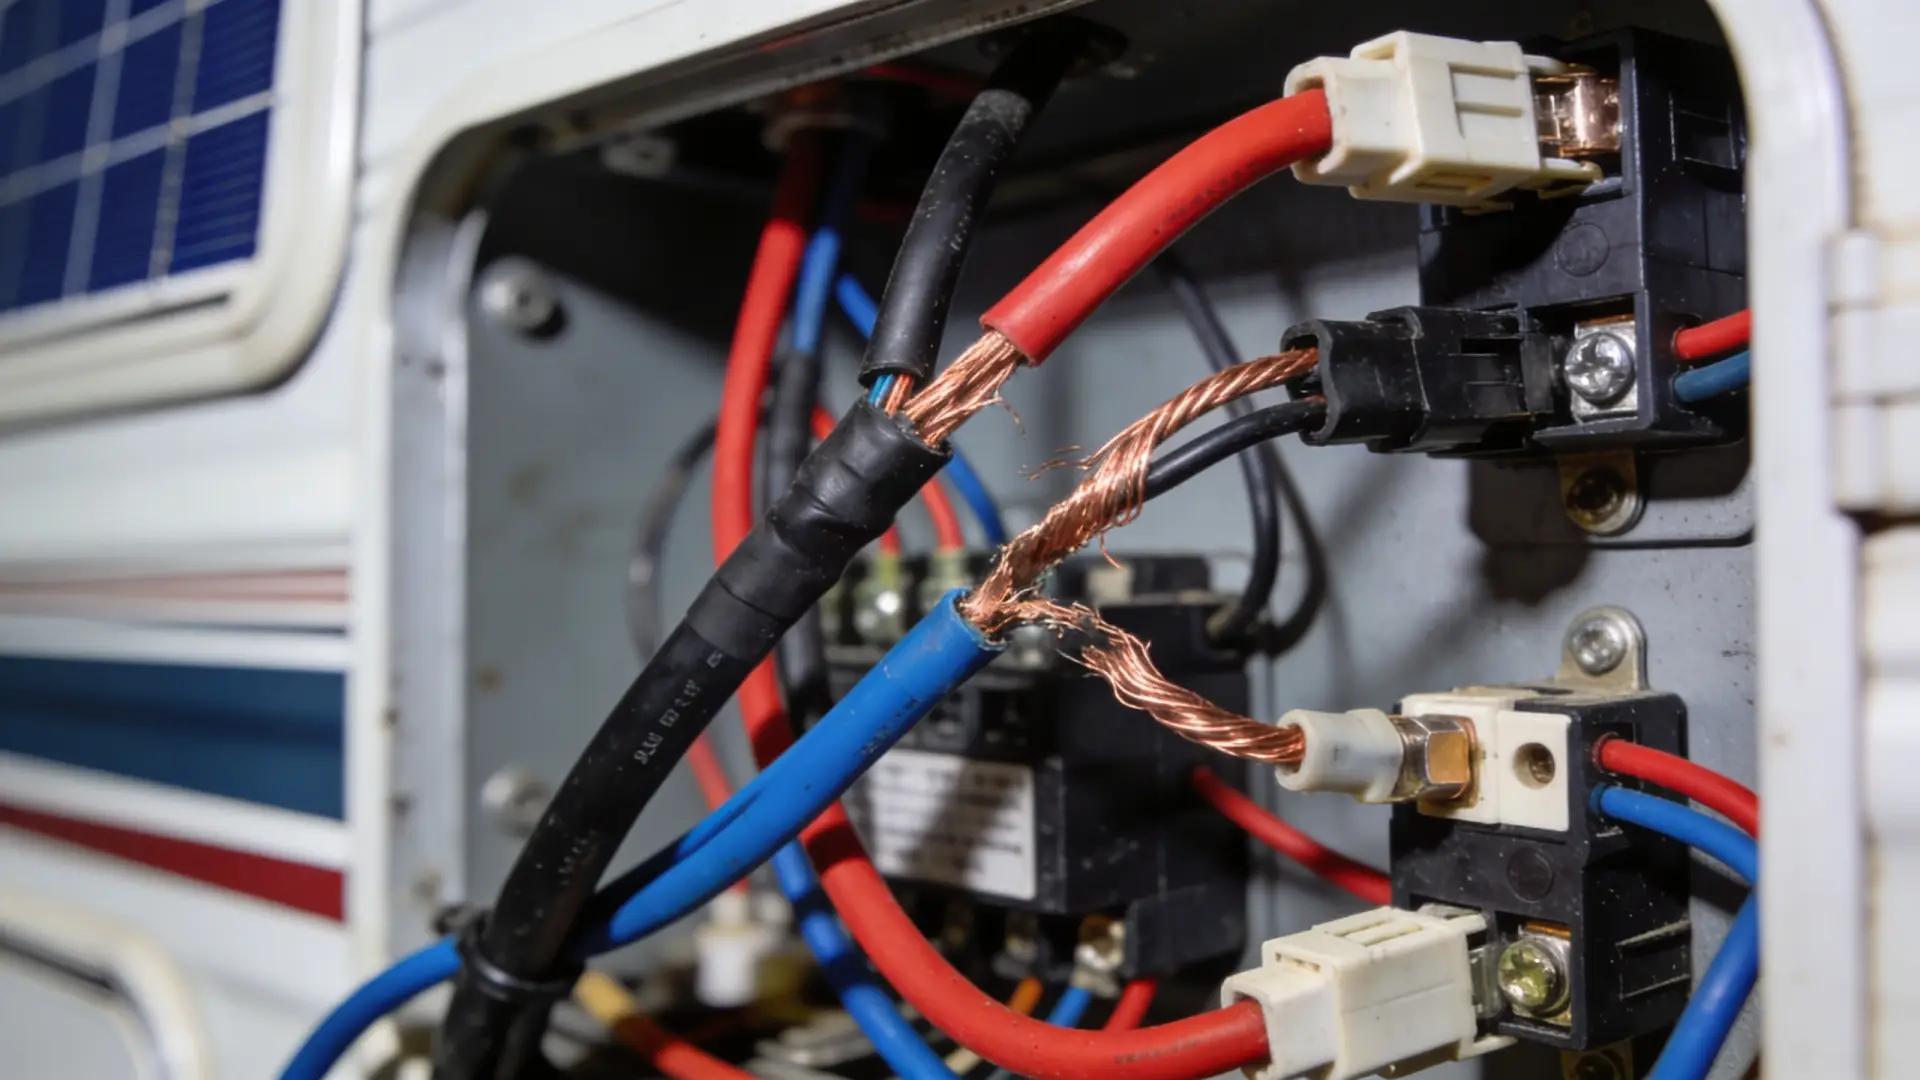
Properly sized wiring prevents voltage drop and reduces fire risk. Undersized cables generate heat and lose power efficiency. Solar cables should be sized for no more than 3% voltage drop between components. This typically means 10-gauge or heavier wire for most systems. Every connection point should be secure, and all exposed terminals need appropriate covers to prevent accidental contact.
Your system needs proper breakers and disconnects at key points. A main DC disconnect between your battery bank and inverter allows safe system shutdown during maintenance. Breakers protect against overcurrent situations. These safety features prevent electrical fires and equipment damage. Most insurance companies require proper disconnects and breakers for coverage.
Grounding and Protection
A properly grounded system protects against lightning damage and reduces shock hazard. Your RV’s metal frame typically serves as ground, with all negative DC connections bonded to this frame through appropriate ground cables. Additionally, a quality surge protector for AC circuits protects sensitive equipment like your inverter and appliances from voltage spikes.
Maximizing Efficiency and Performance
A well-installed system requires ongoing attention to maintain peak performance. Simple practices yield surprising improvements in power output and battery longevity.
Panel Maintenance and Cleaning
Dust, pollen, bird droppings, and mineral deposits reduce panel output by 15-25% in many environments. Regular cleaning—ideally monthly in dusty areas, quarterly in cleaner climates—restores performance. Use soft brushes and deionized water to avoid scratching the protective glass. Avoid commercial window cleaners, which can leave residue that further reduces light transmission.
Cleaning is particularly important when boondocking in the Southwest, where dust accumulation happens rapidly. The effort takes 20 minutes and yields immediate results visible on your charge controller display.
Battery Management and Charging Cycles
Lithium batteries tolerate full discharge and charge cycles better than lead-acid, but they still benefit from moderate management. Avoid letting your system drain below 20% state of charge regularly—this extends battery lifespan significantly. Most modern charge controllers allow programming of lower voltage cutoffs to protect your battery from excessive discharge.
Temperature affects battery performance. Cold temperatures reduce charging efficiency and usable capacity. In winter camping, positioning your battery bank in an insulated interior compartment rather than an exposed exterior box improves performance by 10-15%. Some installations include heating systems for battery banks in cold climates.
Load Management Strategies
Efficient power usage stretches your solar investment further. Prioritize which appliances run on AC power. Your refrigerator, lights, and water pump can run on DC power directly, avoiding inverter losses. Reserve AC power for genuine necessities like your microwave or entertainment system. This approach extends your independence without requiring larger panels or batteries.
Time-shifting energy-intensive tasks helps manage your power budget. Run your water heater or charge laptop batteries during peak sun hours (typically 10 AM to 3 PM) rather than evening hours when battery reserves matter most. This practical habit improves your system’s effective capacity without hardware changes.
Common Mistakes to Avoid
Learning from others’ experiences prevents costly errors. Several predictable mistakes reduce system performance and longevity.
Undersizing Components
The most common error involves buying smaller panels, batteries, or inverters than realistic usage demands. This happens because larger systems cost more upfront. However, an undersized system frustrates you constantly and fails during the exact conditions you hoped to avoid—like extended cloudy weather. It’s better to size conservatively upfront than to regret the decision during your travels.
Ignoring Wire Gauge and Connection Quality
Proper wiring seems like a minor detail until voltage drop robs you of power or a poor connection causes a fire. This is where DIY installation sometimes falters. If you’re not experienced with electrical systems, having a professional verify your wiring prevents future problems. The investment in inspection costs far less than addressing electrical failures on the road.
Neglecting System Monitoring
Many owners install solar systems then ignore their charge controller display until something fails. Regular monitoring—checking your state of charge, observing daily power production patterns, and noting efficiency trends—reveals problems early. Modern systems include Bluetooth monitoring apps that make this effortless; there’s no excuse for flying blind.
When exploring remote camping areas or understanding boondocking rules on BLM land, system monitoring becomes even more critical. You need to know your power status to plan your camping strategy effectively.
Skipping Regular Maintenance
Beyond cleaning panels, your system benefits from periodic checks. Tighten all electrical connections annually (vibration loosens them gradually). Check battery electrolyte levels if using traditional lead-acid (though lithium requires no maintenance). Verify that breakers and disconnects operate smoothly. These 30-minute annual tasks prevent expensive repairs.
A properly sized and maintained solar system provides the energy independence that makes RV travel truly rewarding. Start with honest assessment of your power needs, invest in quality components appropriately sized for your usage, and maintain your system consistently. The result is years of reliable, quiet, renewable power whether you’re embracing a full-time motorhome lifestyle or planning weekend adventures.
How much does an RV solar system cost?
A basic RV solar system with 800 watts of panels, MPPT controller, 300 amp-hours of lithium battery, and 3,000-watt inverter typically costs $8,000-$15,000 depending on quality and installation complexity. DIY installation reduces costs significantly, while professional installation adds labor expenses. Smaller systems for light boondocking start around $3,000-$5,000, while premium systems with 2,000+ watts of panels and larger battery banks exceed $25,000. Consider this an investment that pays dividends through reduced campground fees and increased freedom. Essential RV equipment guides often discuss these costs in the broader context of RV investment.
Can you run air conditioning on RV solar power?
Running air conditioning solely on solar is impractical for most RVs. Air conditioners draw 15-20 amps at 120 volts continuously, consuming 1,800-2,400 watts. To power this from solar, you’d need 3,000+ watts of panels and 600-800 amp-hours of battery storage—a $25,000+ system. Most RVers use solar to power essential systems and run air conditioning when plugged into shore power or via generator. However, ceiling fans and passive cooling strategies extend comfort considerably while reducing overall power demand, making your solar system more practical for extended boondocking.
How long do RV solar panels last?
Quality solar panels typically last 25-30 years, with output degrading about 0.5% annually. Most manufacturers warrant panels for 25 years at 80% capacity. For RV applications, panels commonly outlast the vehicle itself—you might replace your RV before needing new panels. The real limiting factor is often the battery bank (8-15 years for lithium, 3-7 years for lead-acid) and the inverter or charge controller (10-20 years). Annual RV maintenance routines include inspecting your solar components to catch any issues early.
Should you use PWM or MPPT charge controllers?
MPPT (Maximum Power Point Tracking) controllers are superior to PWM for most RV applications. MPPT controllers extract 15-25% more power from your panels, especially in partial shade or non-ideal conditions. While MPPT costs more upfront ($300-800 versus $150-400 for PWM), the additional power production typically justifies the investment within 1-2 years. The only advantage PWM maintains is simplicity in very small systems under 200 watts. For any serious RV solar installation, MPPT is the practical choice. Modern RV technology guides consistently recommend MPPT systems for efficiency-focused travelers.
For additional information about optimizing your RV systems, explore resources like solar power on Wikipedia, which provides technical background on photovoltaic technology. If you have specific questions about implementing solar power in your motorhome, contact our team for personalized guidance, or review our about us page to learn more about our RV expertise.


7 Comments on “Understanding the Basics of RV Solar Systems”