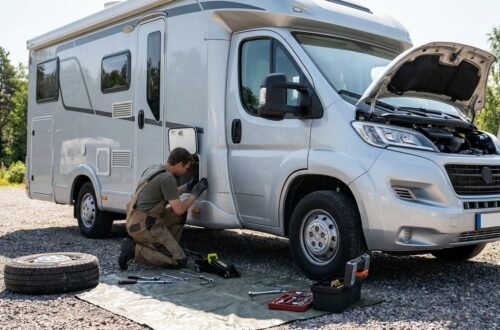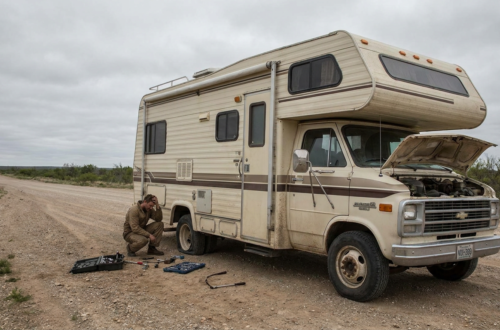
RV winterizing step-by-step (with mistakes to avoid) will help you get your RV ready for winter? It’s a pretty important task if you want to avoid costly repairs come spring. The short answer is: you need to get all the water out of your RV’s plumbing system and protect anything vulnerable from freezing. It might sound a little daunting, but with a bit of planning and a systematic approach, it’s totally doable. Let’s dive into how to do it right, and importantly, what pitfalls to steer clear of.
This is the absolute core of winterizing. Water left in pipes, tanks, and appliances will freeze, expand, and can cause significant damage. Think burst pipes, cracked water heaters, or even damaged tanks. Getting all that water out is your primary mission.
Table of Contents
Letting Gravity Do Its Thing
Before you start pumping in antifreeze, you want to get as much water out as possible using just gravity.
Draining Your Fresh Water Tank
- Locate the drain valve: Most RVs have a dedicated drain for the fresh water tank. It’s usually a small spigot or valve near the tank itself, often underneath the RV.
- Open it up: Turn the valve to let all the water out. Make sure you have a suitable container or allow it to drain into an area where water won’t cause problems.
- Don’t forget the pump: After draining, turn on your fresh water pump for a minute or two with the drain valve still open. This will push out any residual water trapped in the pump itself and the lines leading to the drain.
Draining the Hot Water Heater
This is a big one, as hot water heaters hold a substantial amount of water and are very susceptible to freezing damage. You can read more on winterizing and dewinterizing in this article.
- Turn off the power: Crucially, make sure your hot water heater is turned OFF at the breaker panel and, if it’s propane-fueled, turn off the propane supply to it. Trying to drain a hot water heater that’s still heating water is a serious safety hazard.
- Relieve pressure: Open a hot water faucet in your RV (like the kitchen or bathroom sink). This will help relieve any pressure in the system, making draining easier and safer.
- Find the drain plug or anode rod: Most RV water heaters have either a drain plug (akin to a drain plug on a car) or an anode rod that, when removed, allows water to drain. The anode rod is usually at the bottom and has a hex head. You’ll likely need a socket wrench for this.
- Drain it completely: Unscrew the drain plug or anode rod. Be prepared for a gush of water! Let it drain until it’s completely empty.
- Replace the plug/rod: Once drained, make sure to clean and re-install the drain plug or anode rod. Don’t overtighten, but ensure a snug fit.
Draining the Low Point Drains
Most RVs have “low point drains” specifically designed to get water out of the main plumbing lines.
- Locate them: These are typically two separate valves (one for hot, one for cold) located together, usually underneath the RV, often near where the water lines run. They might be labeled.
- Open them up: Turn these valves to allow any remaining water in the pipes to drain out. Again, have a container ready or direct the flow appropriately.
- Why two? One is for the hot water lines and the other for the cold. You need to drain both.
Mistakes to Avoid When Draining:
- Skipping the hot water heater: This is a common and costly mistake. If you don’t drain it, you’re basically inviting a freeze.
- Forgetting the pump: The pump can hold water even after you’ve drained the tank. Running it briefly with the drain open helps clear it.
- Not opening faucets: Relieving pressure before opening drain plugs makes the process smoother and safer.
- Leaving faucets on: Once you’ve drained, close all your faucets. Leaving them open can create pathways for air to enter the system, which can sometimes lead to issues when you go to de-winterize.
When preparing your RV for winter storage, it’s essential to follow a comprehensive winterizing process to prevent damage from freezing temperatures. This resource will help ensure that your RV remains in excellent condition throughout the cold months.
Flushing the Black and Gray Tanks: Keeping Things Clean
While not directly related to freezing, it’s a good practice to clean out your waste tanks before winter storage. Nobody wants to open up their RV in the spring to a smelly surprise.
Cleaning Out the Tanks
- Empty and flush: Ensure both your black and gray water tanks are completely empty. Use a flush connection if your RV has one to thoroughly rinse out any remaining solids or liquids.
- Add water (a little): After emptying and flushing, it’s a good idea to add a few gallons of fresh water to each tank. This helps prevent any residue from drying and sticking to the tank walls.
- Add holding tank treatment: Once you’ve added the water, you can add a holding tank treatment product. These are designed to break down waste and control odors. Follow the product’s instructions for the recommended amount.
Mistakes to Avoid With Tanks:
- Storing full tanks: This is bad practice. Waste can solidify and become harder to remove. Plus, it adds unnecessary weight.
- Not adding water before treatment: Most treatments work best when diluted in water. Adding them to an empty, dry tank isn’t as effective.
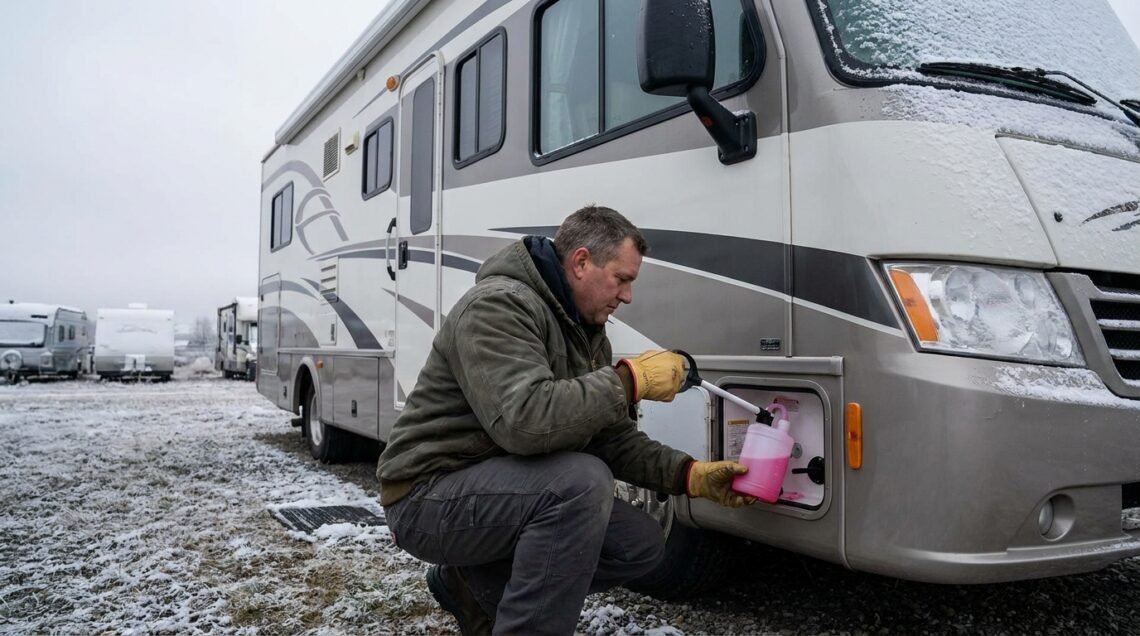
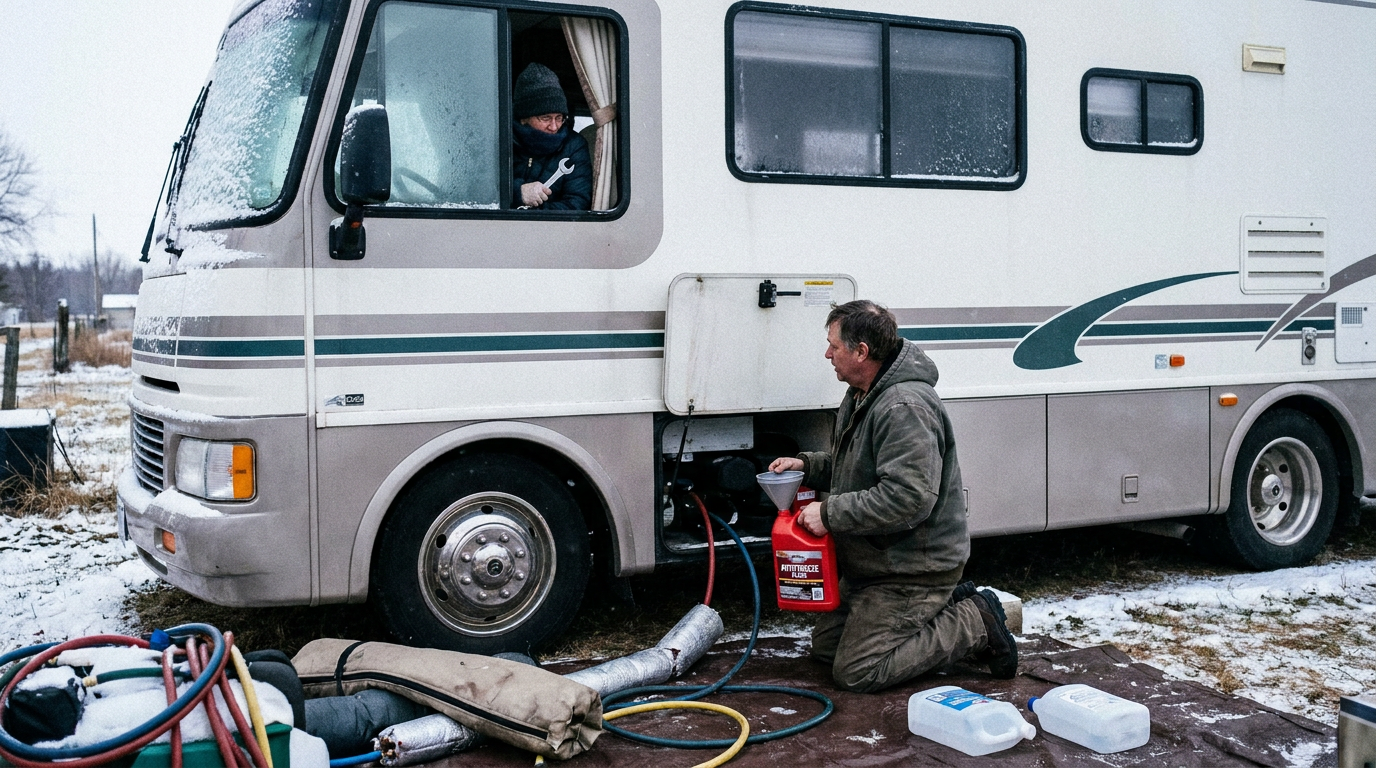
Pumping in the Antifreeze: The Real Protection

Now that you’ve gotten as much water out as possible, it’s time to introduce the star of the show: RV-specific non-toxic antifreeze. This is the liquid that will actively prevent any sneaky water droplets from freezing.
When preparing your RV for winter storage, it’s essential to follow a comprehensive guide to ensure everything is done correctly. This step-by-step article on RV winterizing, which outlines common mistakes to avoid during the process. By paying attention to these details, you can protect your vehicle from potential damage caused by freezing temperatures and ensure it’s ready for use when the warmer months return.
Using the Right Antifreeze
- Non-toxic is key: Absolutely DO NOT use automotive antifreeze (the kind for your car’s radiator). It’s toxic and will make your entire RV’s plumbing unsafe for drinking, cooking, or showering. Always buy RV or marine non-toxic antifreeze. It’s usually pink or blue.
- Piping P-trap protection: Don’t forget to pour some antifreeze into each sink and shower drain. This protects the P-traps, which are designed to hold water and prevent sewer gases from entering your RV, but they can freeze and crack.
The Pumping Process
There are a couple of common ways to get the antifreeze through your system.
Method 1: Using the RV’s Water Pump (Requires a Bypass Kit)
This is the most common and efficient method.
- Install a bypass kit (if you don’t have one): Many RVs come with a built-in water heater bypass. If yours doesn’t, you’ll need to install one. This kit allows you to bypass the water heater entirely and pump antifreeze directly into the lines. It typically involves a valve or two that you turn to redirect the flow.
- Locate the antifreeze input line: This is usually a short, flexible hose that you’ll connect to your jug of antifreeze. It’s often near the water pump.
- Connect antifreeze: Submerge the intake hose into your jug or bucket of antifreeze.
- Turn on the pump: Turn on your RV’s fresh water pump.
- Open faucets one by one: Go to each faucet (hot and cold) inside your RV. Start with the one furthest from the pump and work your way back. Open both the hot and cold handles.
- Wait for pink: Keep the faucet open until you see a steady stream of pink antifreeze coming out. This ensures the lines are completely filled.
- Close the faucet: Once you have a solid stream of pink, close the faucet.
- Repeat for all faucets: Do this for every faucet – kitchen sink, bathroom sink, shower, and even an outdoor shower if you have one.
- Don’t forget the toilet:
- Flush: Add some antifreeze directly into the toilet bowl and flush it. This will fill the toilet trap.
- Pour more: Lift the toilet seat and pour a cup or two of antifreeze directly into the toilet bowl to ensure the valve seal is protected.
- Ice maker and dishwasher (if applicable): If you have an ice maker or dishwasher, these have their own lines and need to be winterized separately. This often involves running them through a cycle with antifreeze or manually draining and flushing them. Consult your RV’s manual for specific instructions.
Method 2: Pouring Directly into the Tanks (Less Preferred)
This method is less ideal because it doesn’t effectively clear all the residual water from the lines and pump.
- Drain everything thoroughly: This method relies heavily on having absolutely no water left in the system.
- Pour into the fresh water tank: Undiluted antifreeze is added to the fresh water tank.
- Run the pump: Turn on the pump until you see antifreeze at all the faucets.
- This method often leaves water pockets.
Mistakes to Avoid with Antifreeze:
- Using the wrong antifreeze: This is a critical error. Automotive antifreeze is toxic.
- Not bypassing the water heater: If you don’t bypass, you’ll be filling your water heater with antifreeze, which is a waste of antifreeze and can be difficult to remove completely come spring.
- Not running enough antifreeze: You need to see a solid stream of pink at every outlet. A dribble isn’t sufficient.
- Forgetting exterior faucets or shower: Don’t overlook these.
- Not putting antifreeze in the toilet: The toilet trap can freeze
FAQs
What is RV winterizing step-by-step
RV winterizing is the process of preparing your recreational vehicle for the winter season to prevent damage from freezing temperatures. This typically involves draining the water system, adding antifreeze, and taking other precautions to protect the RV’s plumbing and appliances.
What are the steps for RV winterizing?
The steps for RV winterizing typically include draining the water system, including the fresh water tank, water heater, and pipes, as well as adding antifreeze to the plumbing system. Additionally, it may involve preparing the exterior of the RV and taking measures to protect the interior from moisture and pests.
What are common mistakes to avoid when winterizing an RV?
Common mistakes to avoid when winterizing an RV include not properly draining the water system, using the wrong type of antifreeze, forgetting to protect exterior components like the tires and seals, and neglecting to seal off potential entry points for pests. It’s also important to follow the manufacturer’s guidelines for winterizing to ensure all components are properly protected.
When should RV winterizing be done?
RV winterizing should be done before the first freeze of the season. This timing can vary depending on the climate and location, but it’s generally recommended to complete the winterizing process in the fall before temperatures drop below freezing.
Why is RV winterizing important?
RV winterizing is important to prevent costly damage from freezing temperatures. Without proper winterization, water left in the plumbing system can freeze and expand, causing pipes, fittings, and appliances to crack or burst. Winterizing also helps protect the exterior of the RV from weather-related damage.