Let’s get your RV ready for the camping season! RV de-winterizing might sound like a chore, but with a good checklist and a systematic approach, it’s totally doable. Think of it as a spring cleaning for your rolling home. The good news is, if you followed a proper de-winterizing plan, most of the heavy lifting is already done. This guide focuses on getting everything back up and running smoothly after the winter.
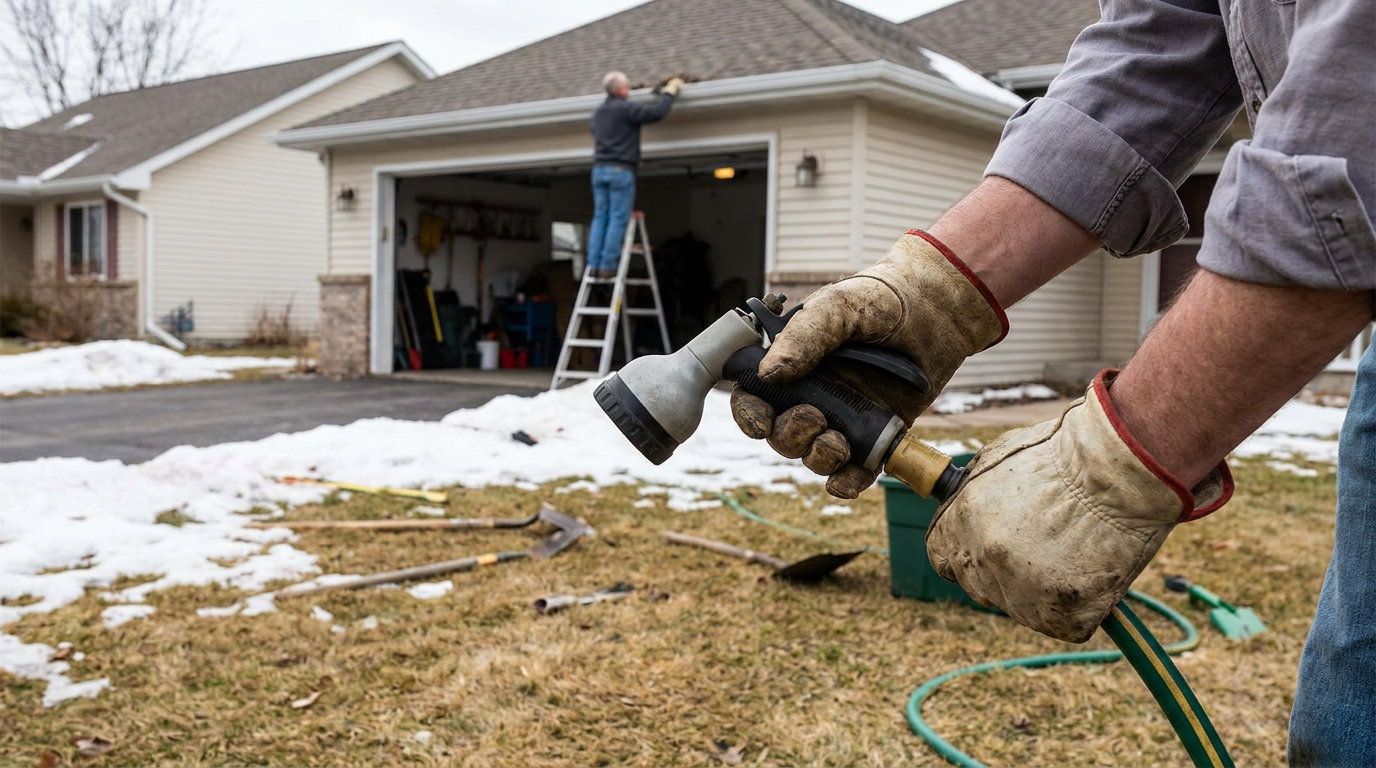
This is probably the most crucial part of de-winterizing. Getting your water flowing again means you can use your sinks, shower, and flush the toilet. Don’t rush this step; a slow and steady approach is best.
Table of Contents
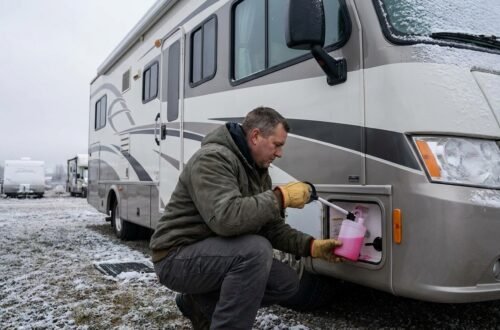
Draining Antifreeze
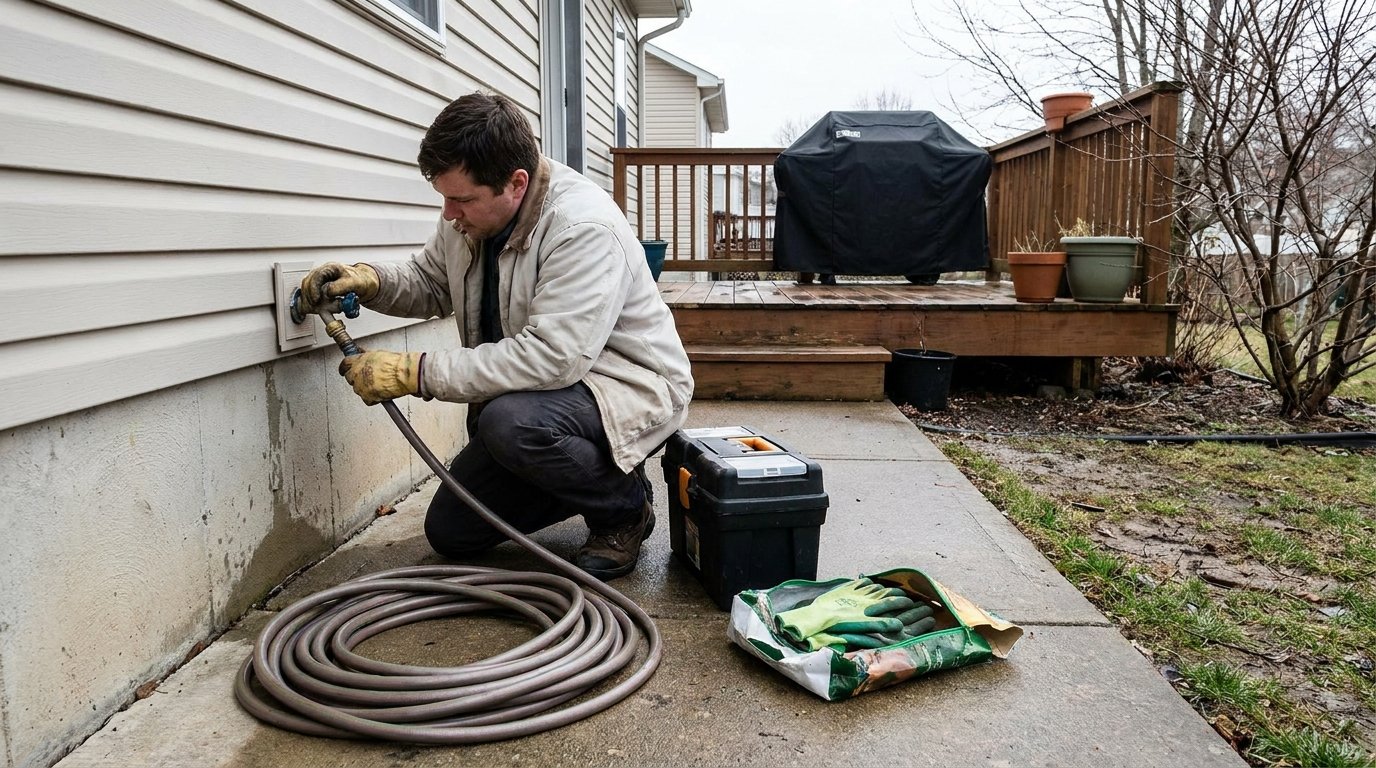
Before you turn on any water pumps, you need to get rid of that antifreeze. Even RV-specific antifreeze can leave a taste.
- Locate the Low-Point Drains: These are usually small valves found near the water heater and at the lowest points of your plumbing system. Sometimes they’re tucked away, so looking in your RV’s manual might be necessary.
- Open Them Up: Once located, open these valves to let the antifreeze drain out. You might want to have a bucket or hose ready to manage the flow.
- Flush the System: After draining, you’ll want to thoroughly flush the entire system with fresh water. This is where you’ll start introducing potable water into your tanks.
Sanitizing the Fresh Water Tank
This step is essential for making sure your water is safe to drink and doesn’t have that lingering antifreeze smell.
- Adding Sanitizer: A common and effective method is to use a bleach solution. The general rule of thumb is about 1/4 cup of household bleach per 15 gallons of tank capacity. You can also find specific RV sanitizing solutions at most RV supply stores.
- Filling the Tank: Once the sanitizer is in, fill your fresh water tank completely with potable water.
- Circulating the Solution: Now, turn on your water pump and run water through all your faucets and fixtures (hot and cold) for several minutes. This ensures the sanitizing solution reaches every pipe, the showerhead, and the toilet. Let it sit for at least 4-6 hours, or even overnight for a deeper clean.
- Draining and Rinsing: After the sitting period, drain the sanitizing solution from your fresh water tank. Then, refill the tank with fresh water and run all your faucets again to rinse out any remaining bleach smell. You might need to do this a couple of times to get the water tasting fresh.
Testing for Leaks
Now that the water is flowing, it’s time to play detective and find any hidden leaks.
- Visual Inspection: As you run water through each fixture, look for any drips or puddles under sinks, around the shower base, and near the toilet.
- Under the RV: Don’t forget to check the underside of your RV for any weeping connections or drips from pipes.
- Hose Connections: Pay close attention to any external hose connections, like where you hook up your city water. Ensure they are tight and not leaking.
As you prepare to de-winterize your RV, you might also be interested in exploring some great travel destinations for your upcoming adventures. For instance, check out this article on the “10 Best Boondocking Spots in the Southwest” which highlights some fantastic locations for off-grid camping. You can find it here: 10 Best Boondocking Spots in the Southwest. This resource can help you plan your next trip while ensuring your RV is ready for the road.
2. Checking the Appliances: Making Sure Everything Works
Your RV is equipped with a variety of appliances that make camping comfortable. It’s important to ensure they’re all functioning correctly after a winter’s rest.
Refrigerator
Whether you have an electric or propane fridge, give it a once-over.
- Cleaning: Thoroughly clean the inside of your refrigerator. Remove any shelves or drawers and wash them. Wipe down all surfaces to remove any residue or potential mold.
- Propane Firedups: If your fridge runs on propane, you’ll need to ensure your propane tanks are full and properly connected. Follow the specific instructions in your RV manual for igniting the propane for the refrigerator. It might take a few tries.
- Electric Firedups: For electric models, plug in your RV or run the generator to provide power and see if the fridge starts cooling.
- Dometic/Norcold Specifics: If you have a Dometic or Norcold fridge, check the burner assembly and flue for any blockages from nests or debris.
Water Heater
This is a critical appliance for hot showers and washing dishes.
- Flushing: Before you turn it on, make sure you’ve drained and flushed your water heater. You’ll often find a drain plug and possibly a sacrificial anode rod. Remove the anode rod (if present) and check its condition. If it’s heavily corroded, it’s time for a replacement.
- Filling: Ensure the water heater is completely full of water before attempting to heat it. Turning it on dry can damage the heating element.
- Propane or Electric: Similar to the fridge, you’ll have either a propane or electric heating element (or both). Follow your manual to ignite the propane or ensure it’s receiving power. Give it ample time to heat up fully.
Stove and Oven
A functional stove is key for cooking delicious RV meals.
- Propane Check: Confirm your propane tanks are on and the gas is flowing to the stove.
- Igniting Burners: Light each burner one by one. If they don’t ignite easily, check for any debris in the burner ports.
- Oven Test: If you plan to use the oven, ignite it and let it run for a while to ensure it’s heating to the correct temperature. Use an oven thermometer to verify accuracy if you have one.
Microwave
A simple check here.
- Power Up: Ensure it powers on when you plug in your RV or run the generator.
- Test Run: Run it for a minute with a cup of water to confirm it works.
Air Conditioner and Heater
Comfort is paramount, so these need to be working.
- AC Unit: Turn on the air conditioner and let it run for a bit to ensure it’s blowing cold air. Check for any unusual noises.
- Furnace: If you have a propane furnace, make sure your propane is on. Light it according to your manual. Ensure it’s blowing warm air and that there are no strange smells. It can take a few moments for the furnace to cycle and heat up.
- Ductwork Inspection: Briefly check visible air ducts for any signs of rodent intrusion or damage.
3. Battery System Maintenance: Keeping the Lights On
Your RV’s batteries are the heart of its independent power. Proper care ensures longevity and reliable operation.
Inspecting Battery Terminals
Corrosion is the enemy of good battery connections.
- Visual Check: Look for any white, powdery buildup on the battery terminals and cable connectors.
- Cleaning: If you see corrosion, disconnect the negative cable first, then the positive. Use a wire brush or battery terminal cleaning tool to scrub away the corrosion. A mixture of baking soda and water can also help neutralize acid.
- Reconnecting: Reconnect the positive cable first, then the negative.
Checking Water Levels (for flooded lead-acid batteries)
Most RVs use sealed batteries these days, but if you have older flooded lead-acid batteries, this is crucial.
- Locate Caps: Find the removable caps on top of each battery cell.
- Inspect Fluid: Use a flashlight to check the water level in each cell. If the plates are exposed, you need to add distilled water.
- Adding Distilled Water: Only use distilled water. Fill each cell until the water level is just above the plates, but don’t overfill.
Charging the Batteries
Give your batteries a good charge before heading out.
- Shore Power: If you have access to shore power, plug in your RV and let the converter charge the batteries.
- Solar Panels: If you have solar panels, ensure they are clean and facing the sun.
- Generator: Use your RV’s generator to charge the batteries.
- Battery Monitor: If you have a battery monitor, check the charge level and voltage.
Testing Battery Voltage
A simple voltage test gives you a good idea of your battery’s health.
- Multimeter: Use a multimeter set to DC voltage.
- Readings: A fully charged 12-volt battery should read around 12.6 volts or higher when not under load. If you’re seeing significantly lower readings, your batteries might be nearing the end of their life.
4. Propane System Check: Fueling Your Adventures
Propane powers many of your RV’s essential functions, so getting it right is important for safety and convenience.
Inspecting Tanks and Connections
Start with a good look at the physical components.
- Tank Level: Ensure your propane tanks have adequate fuel. If you’re unsure, weigh them or use a gauge.
- Physical Damage: Inspect the tanks for any dents, rust, or damage. Check the hoses and connectors for cracks or wear.
- Regulator: Make sure the propane regulator is securely attached and hasn’t been damaged.
Turning On Propane Safely
This is a step that requires attention to detail.
- Close All Appliances: Ensure all propane-powered appliances (stove, heater, water heater, fridge if applicable) are turned OFF.
- Open Valve Slowly: Slowly open the valve on your propane tank. You should hear a slight hiss as gas flows.
- Leak Detection: Using a soapy water solution, apply it to all connections from the tank to the regulator and to each appliance. If you see bubbles forming, you have a leak, and you need to shut off the propane immediately and address it.
Testing Each Appliance
Once you’ve confirmed no leaks, test each propane appliance individually.
- Stove Burners: Light each burner on the stove.
- Water Heater: Turn on the propane setting for your water heater and let it heat up.
- Furnace: Turn on your furnace.
- Refrigerator (if propane): If your fridge runs on propane, ignite it according to the manual.
Checking for Propane Smells
The smell of rotten eggs is your primary warning sign for a propane leak.
- Initial Turn On: When you first turn on the gas, you might smell it slightly as air purges from the lines.
- Lingering Odor: If you notice a strong or persistent propane smell after the initial purge, there’s likely a leak.
As you prepare to de-winterize your RV, it’s also a great time to consider the overall maintenance of your vehicle, including the refrigerator. For those looking to understand the financial aspects of upgrading or replacing their RV refrigerator, you can find valuable insights in this related article about the cost of an RV refrigerator. This information can help you budget effectively while ensuring your RV is ready for the upcoming adventures. You can read more about it here.
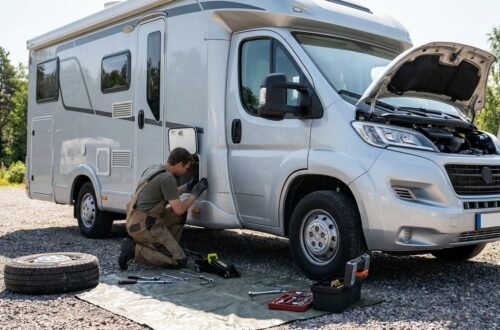
5. Exterior Checks and Preparations: Road-Ready Readiness
| Checklist Item | Description | Status |
|---|---|---|
| Water System | Check for leaks and ensure all components are functioning | Completed |
| Propane System | Inspect for leaks and ensure proper functioning | Completed |
| Appliances | Test all appliances such as refrigerator, stove, and water heater | Completed |
| Battery | Check battery charge and connections | Completed |
| Tires | Inspect tire pressure and tread | Completed |
Don’t forget about the outside of your RV. This is about ensuring roadworthiness and prepping for your journeys.
Tire Inspection
Your tires are your RV’s connection to the road.
- Air Pressure: Check the tire pressure for all tires, including the spare, and inflate them to the manufacturer’s recommended PSI (found on a sticker inside your RV door or in your manual).
- Tread Depth: Inspect the tread for adequate depth. If the tread is worn, they might need replacing, even if they look okay visually.
- Sidewall Condition: Look for any cracks, bulges, or signs of dry rot on the sidewalls. These are serious indicators of potential tire failure.
- Lug Nuts: Give your lug nuts a check to make sure they’re snug. It’s a good idea to torque them to the manufacturer’s specifications after a few miles of driving as well.
Awning Operation
Dust off and test your awning.
- Deployment and Retraction: Carefully extend and retract your awning. Listen for any unusual noises or resistance.
- Fabric Check: Inspect the awning fabric for any rips, tears, or mildew.
- Arm Condition: Ensure the awning arms operate smoothly and are securely attached.
Slide-Outs (if applicable)
If your RV has slide-outs, they need a bit of attention.
- Operation: Extend and retract your slide-outs a few times to ensure they move smoothly.
- Seals: Inspect the seals around the slide-outs for any damage or wear. Clean them and consider applying a rubber conditioner.
- Mechanical Components: If you hear any grinding or unusual noises, investigate the motors and tracks.
Roof Inspection
A quick look at your RV’s roof can prevent bigger problems down the road.
- Seals: Check all roof seals around vents, antennas, and AC units for cracks or deterioration. Re-seal any areas that look compromised.
- Debris: Remove any leaves, branches, or debris that may have accumulated over the winter.
- General Condition: Look for any loose screws, damaged seams, or other potential issues.
Fluid Levels (Engine if applicable)
If you have a motorhome, don’t forget these basics.
- Oil, Coolant, Windshield Wiper Fluid: Check and top off all essential engine fluids according to your owner’s manual.
- Brake Fluid: Ensure brake fluid levels are within the recommended range.
Once you’ve gone through this checklist, you should feel much more confident about hitting the road. Remember, it’s better to take your time, be thorough, and address any issues before you’re miles from home. Happy camping!
FAQs
What is RV de-winterizing?
RV de-winterizing is the process of preparing your recreational vehicle for use after it has been winterized. This typically involves flushing out the antifreeze, checking for any damage caused by freezing temperatures, and ensuring all systems are in working order.
When should I de-winterize my RV?
You should de-winterize your RV when the weather begins to warm up and you are ready to start using it again. This is typically done in the spring, before your first trip of the season.
What are the steps in an RV de-winterizing checklist?
An RV de-winterizing checklist may include tasks such as flushing out the antifreeze, checking the water system for leaks, inspecting the exterior for any damage, testing the appliances, and ensuring the propane system is functioning properly.
Do I need any special tools or equipment to de-winterize my RV?
You may need a few basic tools and supplies to de-winterize your RV, such as a water hose, a water pressure regulator, a water filter, and a water pump converter kit. It’s also a good idea to have some basic cleaning supplies on hand.
Can I de-winterize my RV myself, or should I hire a professional?
Many RV owners choose to de-winterize their RVs themselves, as long as they feel comfortable with the process. However, if you are unsure or if you encounter any issues during the de-winterizing process, it may be best to consult a professional RV technician.