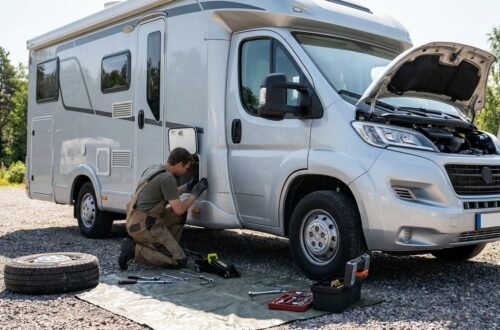
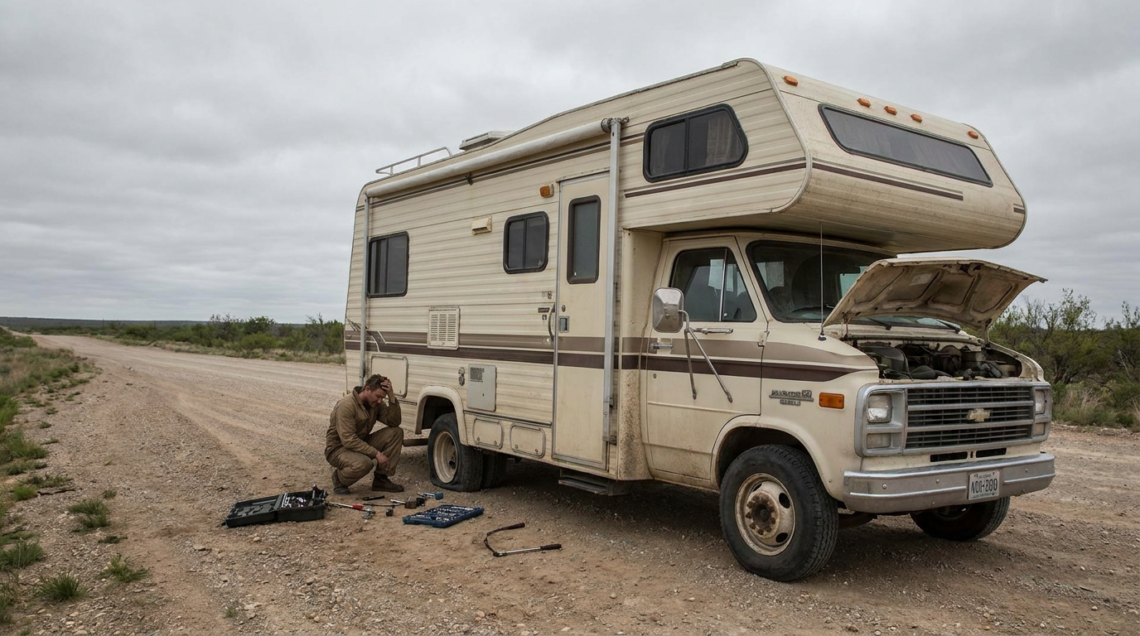
So, you’ve hit the road in your RV, ready for adventure, and then suddenly… a problem pops up. It happens to everyone, even the most seasoned RVers. The good news is, most common RV problems are pretty straightforward to fix, or at least diagnose well enough to get professional help efficiently. This article will help you get a handle on those pesky problems and keep your RV journey smooth.
RV electrical systems can be a bit finicky, combining elements of a house with a vehicle. Understanding the basics can save you a lot of headaches.
Table of Contents
No Power to Outlets
This is a really common one, and often, it’s not as serious as it seems.
Tripped Breaker
Just like in your house, your RV has circuit breakers. If you overload a circuit (running the microwave and a hairdryer at the same time, for example), the breaker will trip to prevent damage.
- The Fix: Locate your RV’s circuit breaker panel (usually inside a cabinet). Find the breaker that’s halfway between ON and OFF, or fully OFF. Flip it completely OFF, then firmly back ON. If it trips again immediately, you have an actual electrical issue that needs professional attention.
GFCI Outlet Tripped
Ground Fault Circuit Interrupter (GFCI) outlets are designed to protect you from electrical shock, especially in areas near water like bathrooms and kitchens. If one trips, it kills power to a whole string of outlets.
- The Fix: Look for an outlet with “TEST” and “RESET” buttons. Press the “RESET” button firmly. If it doesn’t reset or trips again, you might have a short somewhere or a faulty appliance plugged in. Unplug everything from the GFCI-protected outlets and try again.
Shore Power Connection Issues
If you’re plugged into an external power source (shore power) and have no power, check your connection.
- The Fix: Unplug your shore power cord from the pedestal and the RV, then re-plug it firmly, ensuring a secure connection. Sometimes, the pedestal itself might have a tripped breaker, so check that too. If you’re using an adapter, make sure it’s clean and making good contact.
Battery Woes
Your RV’s house batteries power your lights, water pump, and other 12-volt systems when you’re not plugged into shore power.
Dead House Batteries
If your lights are dim or not working, and your 12V appliances are sluggish, your house batteries might be dead.
- The Fix: If you’re plugged into shore power, your converter should be charging them. Check if the converter is on (you might hear a fan). If not plugged in, you’ll need to charge them. You can use your RV’s generator, drive the RV for a while, or use an external battery charger. Remember to check the water levels in flood-lead-acid batteries regularly and top them up with distilled water.
Dirty Battery Terminals
Corrosion on battery terminals can prevent a good electrical connection, even if the batteries themselves are charged.
- The Fix: Disconnect the batteries (negative first, then positive). Use a wire brush and a battery terminal cleaner (or a baking soda paste) to scrub away any corrosion. Reconnect the terminals tightly (positive first, then negative).
When exploring the great outdoors in your RV, it’s essential to be prepared for any challenges you might face. Alongside understanding the most common RV problems and their fixes, you may also want to familiarize yourself with the guidelines for boondocking. For instance, the article on boondocking rules on BLM land provides valuable insights that can enhance your camping experience while ensuring you respect the environment and local regulations. You can read more about these important rules in the article found here: Boondocking Rules on BLM Land.
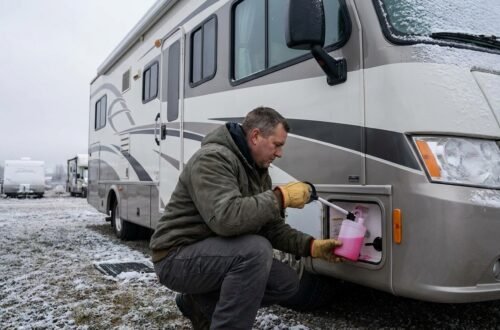
The Plumbing Pains
Water lines, tanks, and pumps are essential for comfortable RVing, but they can spring a leak or stop working.
Water Pump Not Working
If you’re boondocking (not hooked up to city water) and your taps are dry, your water pump might be the culprit.
No Water in Fresh Tank
This one sounds obvious, but it’s easy to overlook.
- The Fix: Check your fresh water tank level. If it’s empty, fill it up!
Filter Clogged
Many water pumps have a small filter on their intake line to prevent debris from entering the pump.
- The Fix: Locate your water pump (often under a bed, dinette, or in an exterior storage bay). You’ll typically see a small clear bowl or screen on the pump’s intake. Turn off the pump, relieve system pressure by opening a faucet, then carefully unscrew the bowl or remove the screen. Clean out any debris and reassemble.
Loose Wiring or Blown Fuse
The water pump runs on 12-volt power, so electrical issues can affect it.
- The Fix: Check the fuse dedicated to your water pump in your RV’s 12-volt fuse panel. If it’s blown, replace it with one of the same amperage. Also, visually inspect the wiring leading to the pump for any loose connections.
Leaky Faucets or Connections
Leaks are a nuisance and can lead to serious water damage if left unchecked.
Loose Connections
Vibration from travel can loosen plumbing connections over time.
- The Fix: For minor drips, check the fittings under the sink or behind the toilet. Gently tighten any connections that appear loose. Don’t overtighten, as you can crack plastic fittings.
Worn O-rings or Washers
Seals within faucets or in water lines can degrade over time.
- The Fix: This often requires getting a replacement O-ring or washer. For faucets, you might need to disassemble the handle and spout to access the seals. For water line connections, inspect the connection itself for a worn out rubber washer inside the fitting. It’s a good idea to carry a small assortment of common plumbing washers and O-rings.
Appliance Annoyances
Your RV appliances make life on the road comfortable, but they can also be sources of frustration when they act up.
Refrigerator Not Cooling
A warm fridge is a disaster on wheels. RV fridges can be absorption or residential style. Most common RVs have absorption refrigerators.
Not Level
Absorption refrigerators are extremely sensitive to being level. If your RV isn’t level, the ammonia in the cooling unit can pool, stopping the cooling process.
- The Fix: Level your RV. Use leveling blocks or your RV’s leveling system. Give the fridge several hours (up to 24) to recover once leveled. If it still doesn’t cool, you might need to “burp” the fridge — turn it off for a few hours, then turn it back on.
Blocked Vents
RV refrigerators need good airflow for their cooling units to work efficiently.
- The Fix: Check the exterior refrigerator vents on the side or roof of your RV. Make sure they aren’t blocked by debris, leaves, or even insect nests. Clear any obstructions. Also, ensure there’s no obstruction inside the fridge compartment that would block the internal airflow.
Propane or Electrical Issue
Absorption fridges run on either propane or electricity. If one source isn’t working, it won’t cool.
- The Fix: If running on propane, check your propane tank level and ensure the gas is turned on. Listen for the igniter trying to spark. If on electric, check the breaker for the fridge. Sometimes a bad heating element or igniter can be the issue, which might require a technician.
Water Heater Problems
No hot water is never fun, especially after a long day of travel.
Pilot Light Out (Propane Models)
Many RV water heaters use a pilot light for propane operation.
- The Fix: Refer to your water heater’s manual for specific instructions on relighting the pilot. Generally, you’ll hold down the pilot button, light it with a long lighter, and hold for about 30 seconds before releasing.
Blown Fuse or Tripped Breaker
Your water heater uses 12-volt power for its control board and 120-volt power for electric heating.
- The Fix: Check both the 12-volt fuse in your RV’s fuse panel (labeled “water heater” or “WH”) and the 120-volt breaker in your circuit breaker panel. Replace any blown fuses or reset tripped breakers.
Anode Rod Depleted
The anode rod sacrifices itself to prevent corrosion in your water heater tank. If it’s completely dissolved, it can sometimes affect heating efficiency or introduce metallic taste into your water.
- The Fix: Drain your water heater and remove the anode rod (it’s usually accessed from an exterior panel). If it’s less than 25% of its original size, it’s time to replace it.
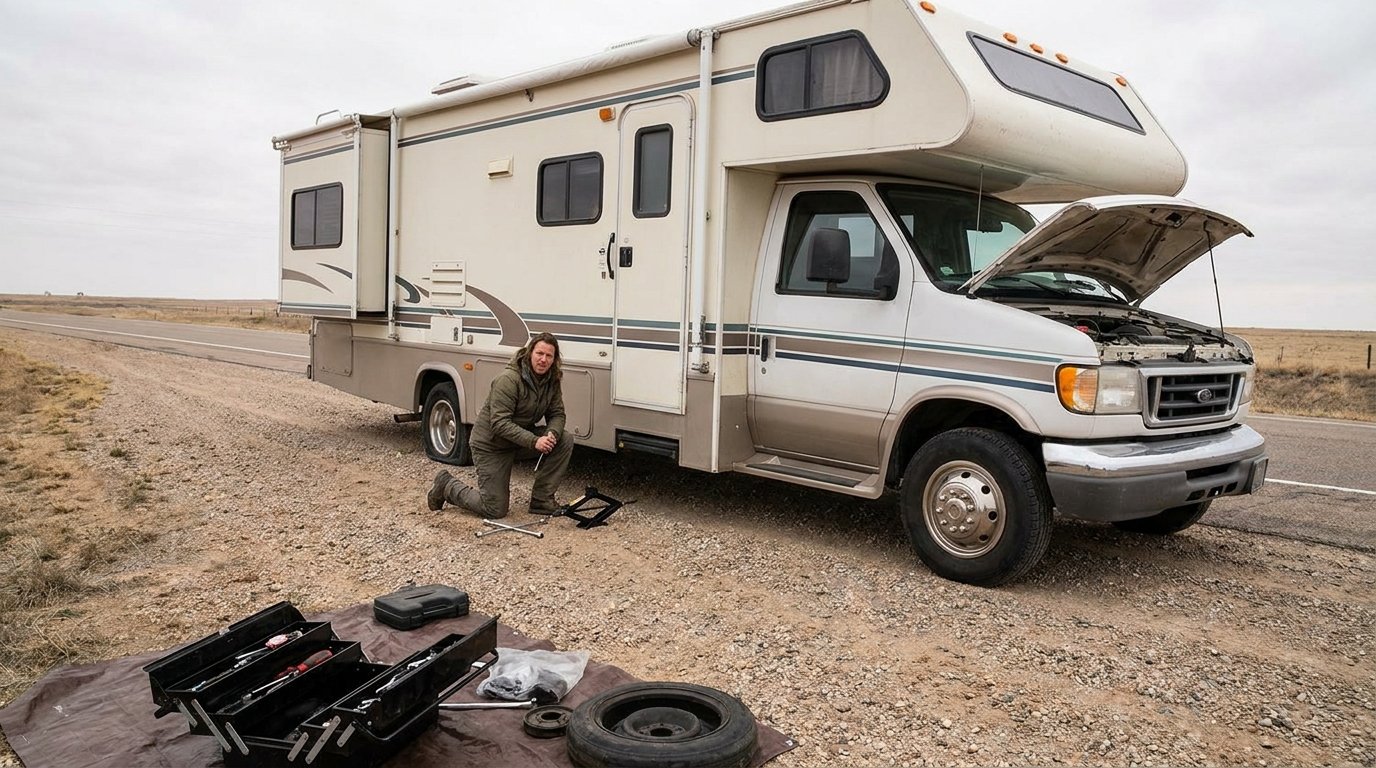
Tire Troubles
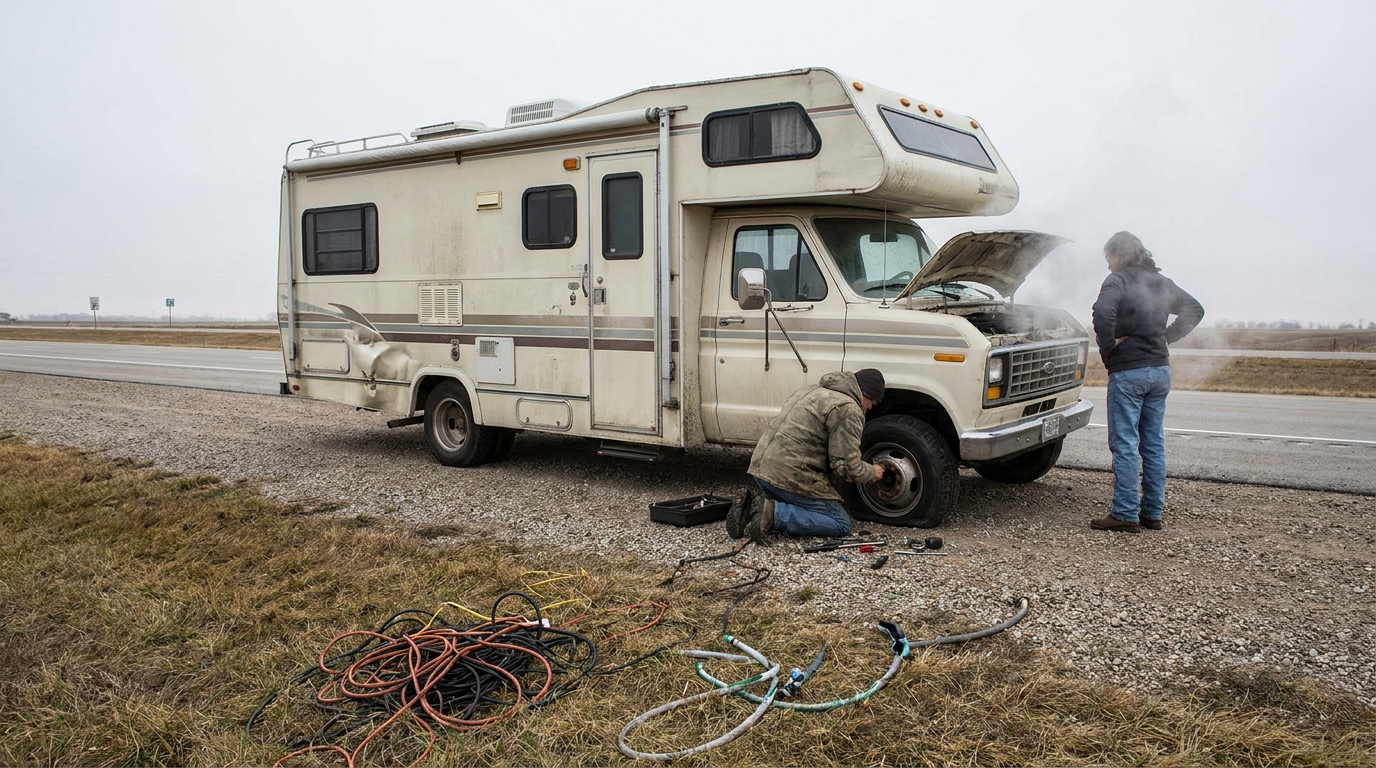
Tires are arguably the most critical safety component on your RV. Proper maintenance and quick action on issues are paramount.
Underinflation
This is the number one cause of RV tire failure. Underinflated tires generate excessive heat, leading to blowouts.
- The Fix: Check your tire pressure before every trip and when the tires are cold. Use a reliable tire pressure gauge. Inflate to the manufacturer’s recommended PSI (found on a sticker inside your RV, usually near the driver’s seat or on an exterior wall). Do not go by the maximum pressure listed on the tire sidewall, as that’s only under specific loading conditions.
Overinflation
While less common than underinflation, overinflation can also be dangerous, leading to a harsher ride, reduced traction, and uneven tread wear.
- The Fix: Again, inflate to the manufacturer’s recommended PSI, not the sidewall maximum. If you’ve overinflated, simply release air until the correct pressure is reached.
Punctures or Leaks
Road debris and sharp objects can cause punctures, leading to slow leaks or immediate flats.
- The Fix: If you notice a slow leak, find the source. Small punctures from nails or screws can sometimes be temporarily plugged with a tire repair kit (for emergencies only – aim for professional repair/replacement ASAP). For more significant damage or a blowout, you’ll need a spare tire (if you have one) and the tools to change it, or roadside assistance. Always carry a good jack and lug wrench.
When it comes to maintaining your RV, understanding common issues and their solutions is essential for a smooth journey. Many RV owners face problems with their water heating systems, which can significantly impact comfort during trips. For those looking to upgrade or replace their water heater, exploring options like tankless models can be beneficial. You can find a comprehensive guide on the best tankless water heaters for RVs in this informative article. Be sure to check it out for valuable insights that can enhance your RV experience. For more details, visit this article.
Structural and Exterior Annoyances
| Problem | Fix |
|---|---|
| Leaky roof | Apply sealant to the affected area |
| Appliance malfunctions | Check for loose connections or faulty parts |
| Battery issues | Inspect and replace if necessary |
| Plumbing leaks | Tighten connections or replace damaged pipes |
| Electrical problems | Check fuses and wiring for any issues |
From roof seams to slide-out issues, these problems require attention to prevent more serious damage.
Leaking Roof/Seams
Water intrusion is an RV’s worst enemy, leading to wood rot, mold, and costly repairs.
Cracked Sealant
The sealants on your RV’s roof and exterior seams degrade over time due to UV exposure and temperature fluctuations.
- The Fix: Inspect your roof and all exterior seams (around windows, slide-outs, vents) regularly, especially before and after big trips. Look for cracks, shrinking, or peeling sealant. Clean the area thoroughly, remove any loose old sealant, and apply a fresh bead of compatible RV-specific sealant. Dicor self-leveling sealant is common for horizontal roof surfaces, while non-sag sealants are used for vertical seams.
Damaged Roof Material
Punctures or tears in the roof membrane itself.
- The Fix: Small punctures can often be repaired with a patch kit specific to your RV’s roof material (EPDM, TPO, fiberglass). For larger tears or significant damage, professional repair or replacement of a section of the roof might be necessary.
Slide-Out Not Extending/Retracting
Slide-outs add valuable space but can be a headache when they don’t cooperate.
Low Battery Voltage
Many slide-out systems are entirely dependent on having sufficient 12-volt power from your house batteries.
- The Fix: Ensure your house batteries are fully charged. If you’re plugged into shore power, all the better. If not, start your RV’s engine to get the alternator charging the batteries.
Obstruction
Something might be physically blocking the slide-out’s path.
- The Fix: Visually inspect the slide-out’s path, both inside and outside the RV. Check for anything that might be jammed, like unsecured items inside, tree branches outside, or even debris on the slide-out mechanism itself.
Hydraulic Fluid Level (Hydraulic Systems)
Some larger RVs use hydraulic systems for their slide-outs.
- The Fix: Locate the hydraulic reservoir (refer to your RV’s manual). Check the fluid level and top it off with the recommended hydraulic fluid if it’s low.
Blown Fuse (Electric Systems)
Electric slide-outs have fuses to protect their motors.
- The Fix: Check the dedicated fuse for your slide-out motor in your 12-volt fuse panel. Replace if blown.
Staying Ahead of the Game
While these fixes cover many common problems, proactive maintenance is truly your best friend. Regular inspections of your roof, tires, and fluid levels, along with understanding your RV’s systems, will prevent many headaches before they even start. Carry a basic toolkit, a multimeter, and some common spare parts like fuses and sealants. When in doubt, or if a repair seems beyond your comfort level, don’t hesitate to consult a qualified RV technician. Happy and safe travels!
FAQs
What are some common RV problems?
Some common RV problems include plumbing issues, electrical problems, appliance malfunctions, roof leaks, and tire blowouts.
How can I fix plumbing issues in my RV?
To fix plumbing issues in your RV, you can check for leaks, replace damaged pipes or fittings, and ensure proper maintenance of the water system. It’s also important to use RV-specific plumbing products and to winterize the system when necessary.
What are some common electrical problems in RVs?
Common electrical problems in RVs include faulty wiring, dead batteries, malfunctioning outlets, and issues with the generator. These problems can often be fixed by checking and repairing the wiring, replacing batteries, and ensuring proper maintenance of the electrical system.
How can I prevent roof leaks in my RV?
To prevent roof leaks in your RV, it’s important to regularly inspect the roof for any damage or wear, seal any cracks or gaps, and ensure proper maintenance of the roof seals and caulking. Additionally, storing the RV under a cover or in a garage when not in use can help prevent roof damage.
What should I do in case of a tire blowout in my RV?
In case of a tire blowout in your RV, it’s important to stay calm, grip the steering wheel firmly, and gradually slow down while safely pulling off the road. Once stopped, assess the damage and replace the blown-out tire with a spare if possible. It’s also important to regularly inspect and maintain the RV’s tires to prevent blowouts.