
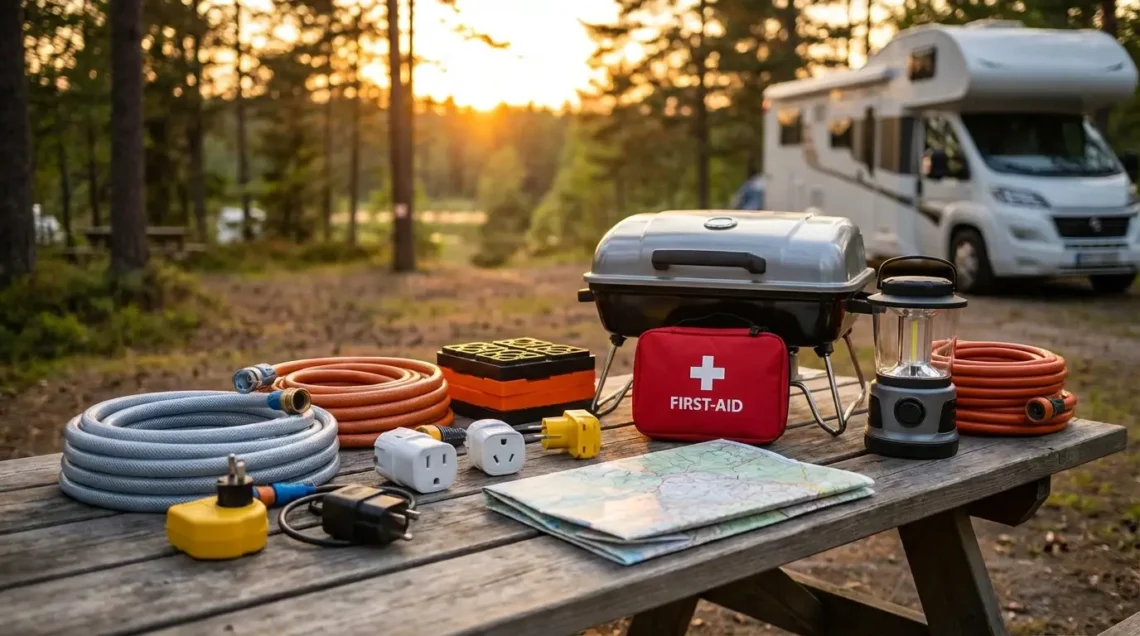
Stepping into the RV lifestyle is exciting, but it can also feel overwhelming when you’re staring at an endless list Essential RV Gear and accessories. What equipment do new RVers need is one of the most common questions we hear from first-time buyers, and the honest answer is that it depends on your travel style, budget, and how much time you’ll spend on the road. However, there are definitely some essential items that every new RV owner should have before hitting the highway. This guide walks you through the must-have equipment so you can pack smart and avoid those frustrating mid-trip discoveries.
The reality is that you don’t need to buy everything at once. Start with the basics that directly impact safety, comfort, and functionality—things like leveling blocks, a fresh water hose, power adapters, and basic tools. From there, you can gradually add conveniences and specialized gear as you learn what matters most to your personal setup. The goal here is to help you prioritize spending on items that make the biggest difference, not to create a checklist that empties your wallet before you even leave the driveway.
Table of Contents
Essential Safety and Leveling Equipment
Before anything else, focus on safety and leveling gear. A level RV isn’t just about comfort—it affects how your refrigerator and appliances function. You’ll want a quality leveling system, which typically includes stabilizing jacks or blocks that go under your wheels. Leveling blocks are inexpensive plastic wedges that allow you to adjust your RV’s position on uneven terrain. Think of them as Tetris pieces for campgrounds.
Equally important are safety items like tire pressure monitoring systems, chocks (wedges that prevent wheel movement), and a fire extinguisher rated for vehicle use. Additionally, you’ll need good exterior lighting—headlights, brake lights, and turn signals all need to be in working order. A backup camera is invaluable when maneuvering in tight spaces, and many newer RVs come equipped with them as standard.
Don’t overlook carbon monoxide and propane detectors. These aren’t luxuries. They’re lifelines. Check your RV to see if it already has these installed, and replace batteries at the start of each season. Finally, grab a basic emergency kit with first aid supplies, flashlights, and jumper cables. These items take minimal space but solve major problems fast.
Step 1: Invest in a Quality Leveling System
Start by purchasing leveling blocks or a hydraulic leveling system depending on your RV type. Manual systems cost between $30-$100 for a set of blocks. Hydraulic systems are pricier but automate the process. Test your leveling gear at home before your first trip so you understand how it works and how long setup takes.
Step 2: Install Safety Devices
Confirm that your RV has working carbon monoxide and propane detectors. If not, install them immediately. Check your tire pressure monthly with a tire gauge. Position wheel chocks whenever you’re parked, even in a driveway. These small steps prevent accidents before they happen.
Water, Waste, and Electrical Systems
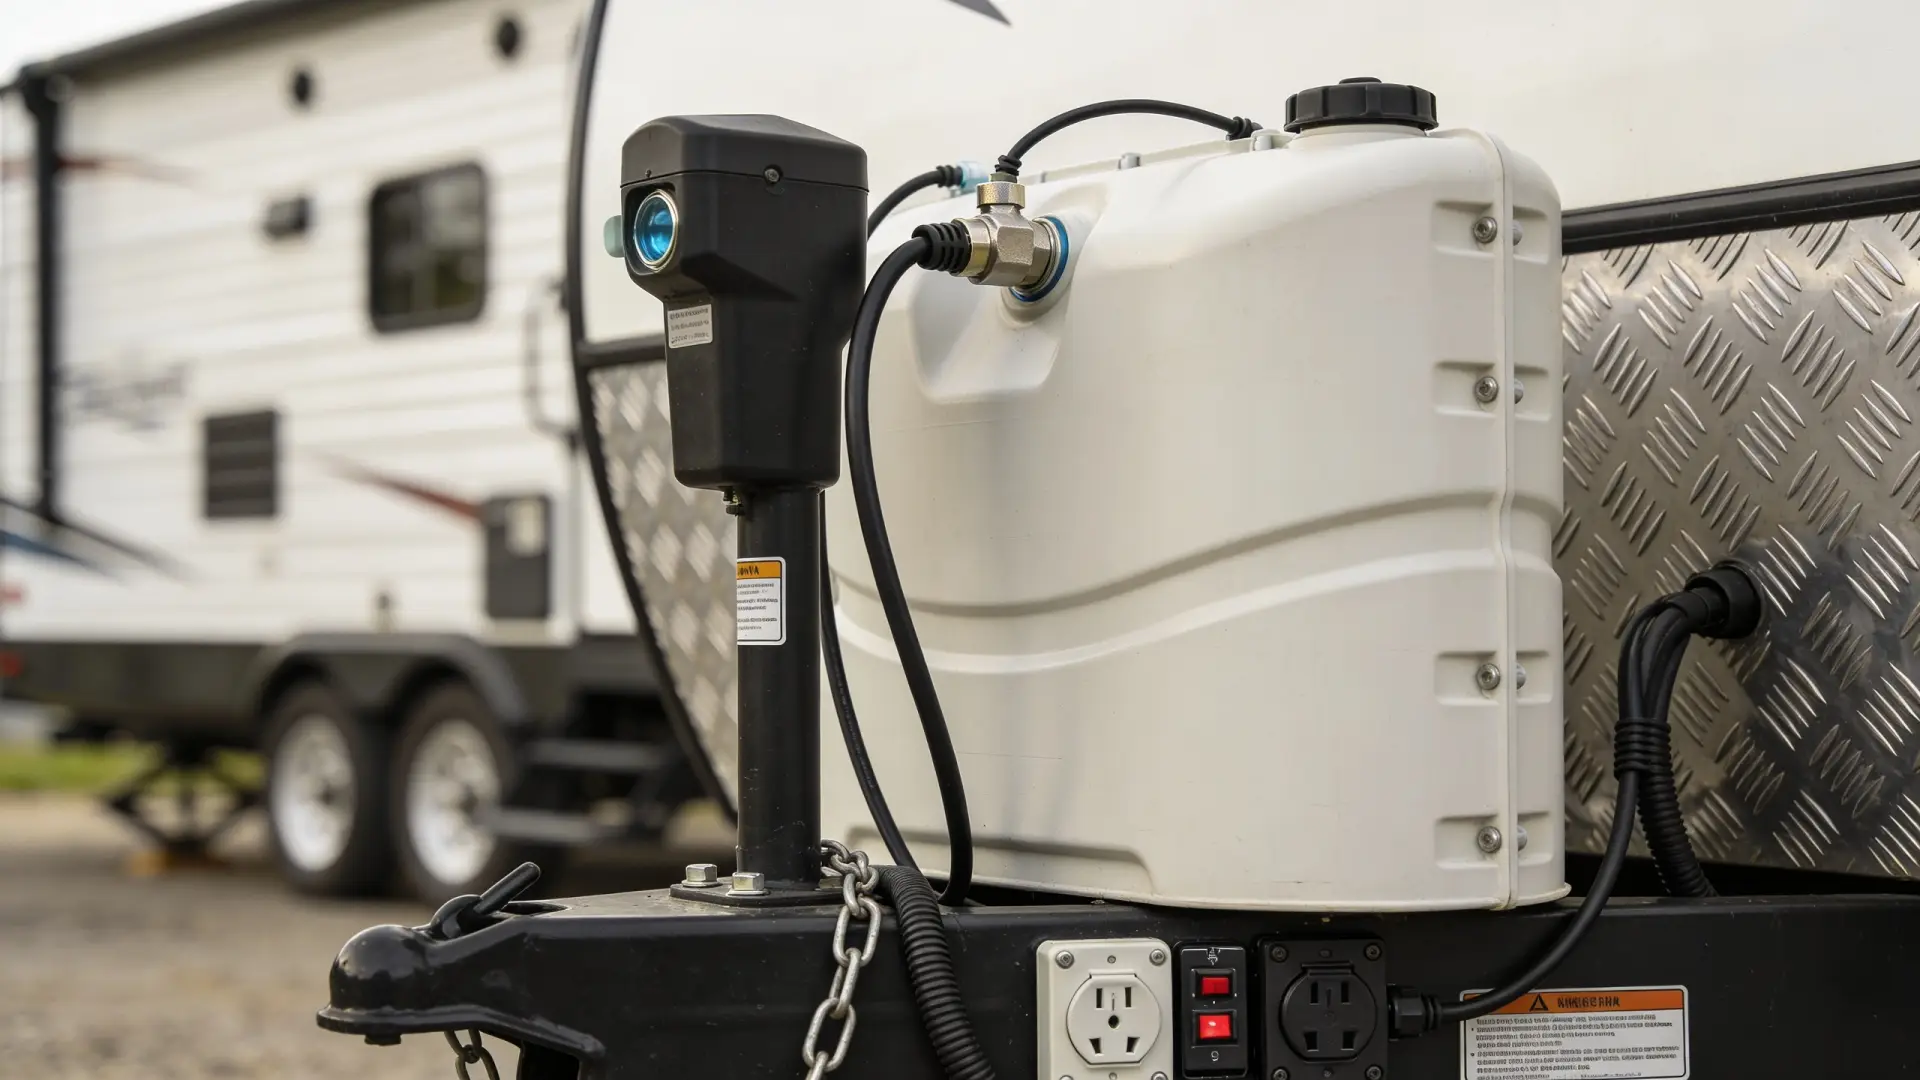
Getting water, waste, and power management right is critical to your RV experience. You’ll need food-grade water hoses specifically designed for RVs—never use garden hoses, as they can leach chemicals into your drinking water. A typical setup includes a freshwater inlet hose, a wastewater outlet hose, and a sewer hose adapter. Most RVers need at least 50 feet of total hose length to comfortably reach water spigots and sewer connections.
For power, you need heavy-duty extension cords rated for RV use. A 30-amp or 50-amp power cord depends on your RV’s electrical system. These specialized cords differ from household extension cords because RVs draw much higher amperage. Grab surge protectors designed for RV power pedestals—they protect your electrical systems from voltage spikes that can damage appliances.
On the waste side, you’ll need dump station supplies: a waste tank pump kit if you have holding tanks, or bags for portable waste systems. Many RVers also invest in a water filtration system to improve water quality, especially when boondocking. Furthermore, having a reliable water heating system ensures you have hot water for showers and dishes throughout your travels.
Step 3: Gather Water Connection Supplies
Purchase a freshwater hose kit that includes:
- A 50-foot food-grade water hose (expandable hoses save storage space)
- Water inlet adapters for different campground connections
- A wastewater outlet hose with proper fittings
- A sewer hose with a secure connector
- A shutoff valve for easier disconnection
Test your connections at home using an outdoor faucet before your first trip. This practice run prevents leaks and compatibility headaches at the campground.
Step 4: Set Up Electrical Safety
Buy an RV-rated power cord in the correct amperage for your rig. Most modern RVs use 30-amp or 50-amp systems. Add a surge protector to your power cord connection—it’s cheap insurance against electrical damage. Keep spare breakers or fuses appropriate for your electrical panel in an easily accessible location, and store them with your electrical supplies.
Tools and Maintenance Supplies
You don’t need a full workshop, but having basic tools prevents small problems from becoming roadside emergencies. A fundamental toolkit should include a hammer, screwdrivers (Phillips and flathead), an adjustable wrench, pliers, and a multi-tool. Additionally, grab a socket set for more substantial repairs and a tire repair kit just in case.
For maintenance, stock up on propane tank fittings, fresh filters for your furnace and water system, and RV-specific lubricants. Duct tape and Gorilla tape solve temporary problems until you reach a service center. A tube of caulk and caulking gun help seal gaps before water leaks become serious issues. Consider following a comprehensive RV maintenance checklist to stay on top of preventive care throughout the year.
Equally important are spare parts that are harder to find on the road. Keep backup batteries for remotes, fresh belts for your water pump, and spare fuses for your electrical system. Many seasoned RVers also carry extra hose clamps, which seem to disappear whenever you need them. A simple toolbox organized by category makes it easy to find what you need quickly.
Step 5: Assemble Your Core Toolkit
Build a portable toolbox with these essentials:
- Basic hand tools (hammer, screwdrivers, wrenches, pliers)
- A multi-tool or pocket knife
- A flashlight with extra batteries
- Adjustable wrench and socket set
- Tire repair kit and tire pump
- Jumper cables or portable battery pack
Store your toolkit where you can access it quickly without unpacking everything. A fishing tackle box or tool caddy works perfectly for RV-sized spaces and keeps items organized.
Step 6: Stock Maintenance and Repair Supplies
Create a maintenance supply bag separate from your toolbox. Include water filter cartridges, furnace filters, spare fuses, hose clamps, caulk, duct tape, WD-40, and RV-safe cleaning products. Label everything clearly so you know what you have. This bag becomes invaluable when you’re at a remote campground and need a quick fix before a shop is available.
Interior Comfort and Convenience Items
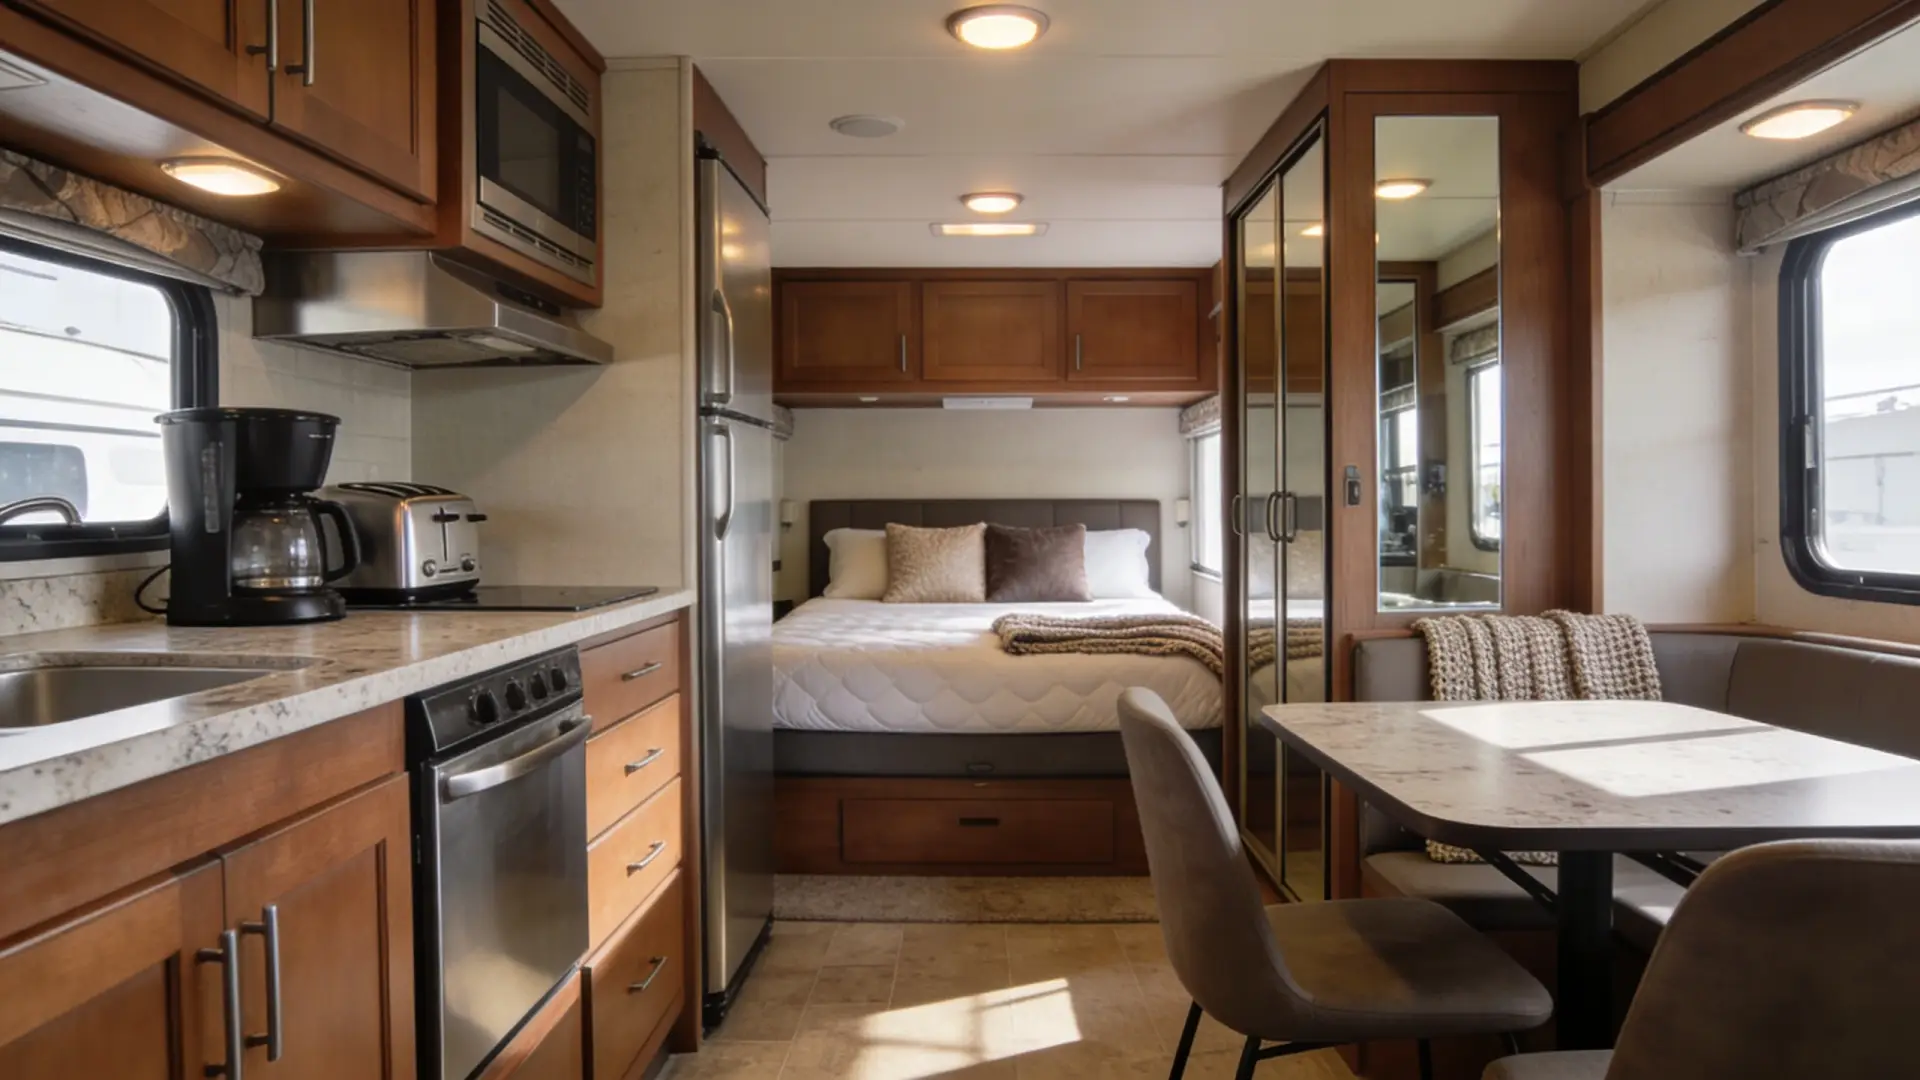
Once safety and systems are handled, focus on comfort. Bedding and pillows designed for RV mattresses make a huge difference in sleep quality—standard pillows often don’t fit RV sleeping spaces. Additionally, blackout curtains or shades keep light out and improve insulation, which matters whether you’re dealing with early morning sun or trying to stay cool in summer heat.
For the kitchen, you’ll want RV-specific cookware and utensils that fit compact storage. Collapsible silicone bowls, nesting pots, and magnetic spice containers maximize limited cabinet space. A good quality set of kitchen gadgets designed for RV living makes meal preparation feel less cramped. Non-slip mats prevent dishes from sliding during travel, and corner organizers turn awkward spaces into functional storage.
Climate control matters too. Portable fans improve air circulation in summer, while thermal window coverings and draft stoppers reduce heat loss in winter. A space heater can supplement your RV’s furnace if you’re traveling in cold climates, though be mindful of propane usage. Moreover, consider a portable air purifier to improve air quality, especially if anyone in your group has allergies or respiratory sensitivity.
Step 7: Set Up Your Sleeping Area
Measure your RV mattress precisely and purchase fitted sheets and blankets designed for that size. RV mattresses often use non-standard dimensions—a queen in an RV isn’t the same as a household queen. Add quality pillows, a mattress topper for comfort, and enough bedding for your travel season plus one extra set for washing.
Step 8: Organize Kitchen and Storage
Start with essential cooking tools: a mixing bowl or two, a cutting board, a chef’s knife, a spatula, and cooking utensils. Add collapsible items wherever possible to save space. Use drawer dividers and shelf organizers to maximize every inch. Label storage containers so you know where everything is without searching through cabinets while driving down the highway.
Outdoor Gear and Campsite Essential RV Gear
Your outdoor setup impacts how much you actually enjoy the RV lifestyle. An awning provides shade and extends your living space, and most RVs come with manual or motorized awnings already installed. However, you’ll want outdoor furniture—a couple of folding chairs and a small table create a comfortable seating area. These items fold flat for easy storage when traveling.
A outdoor mat or rug placed at your RV door prevents dirt from entering the interior. Exterior lighting like LED strips or a motion-activated light improves safety and ambiance around your campsite. Furthermore, weatherproof storage containers keep gear organized and protected from moisture. Consider items like tools for finding and booking campsites, which help you plan your travel more effectively.
Propane accessories deserve special attention. A regulator, fittings, and propane tank adapters ensure you can refill and connect safely at any campground. Propane-powered grills, heaters, and water heaters are common in RV travel, so understanding your propane system is essential. A propane leak detector—a simple soap solution test—should be part of your monthly safety routine.
Step 9: Create a Comfortable Outdoor Living Space
Start with two folding camping chairs and a small fold-down table. These items cost under $100 combined and dramatically improve your campground experience. Add a doormat to keep your interior clean. If your RV has an awning, test how to operate it—manual awnings require setup, while motorized versions need battery power or electrical connection.
Step 10: Prepare Your Propane System
Locate your propane tanks and understand how to check levels. Learn to perform a soap test for leaks around connections. Keep spare fittings and a wrench rated for propane work. Know the location of your propane shutoff valve in case of emergency. A working knowledge of your propane system prevents dangerous situations and extends equipment life.
Navigation and Communication Equipment
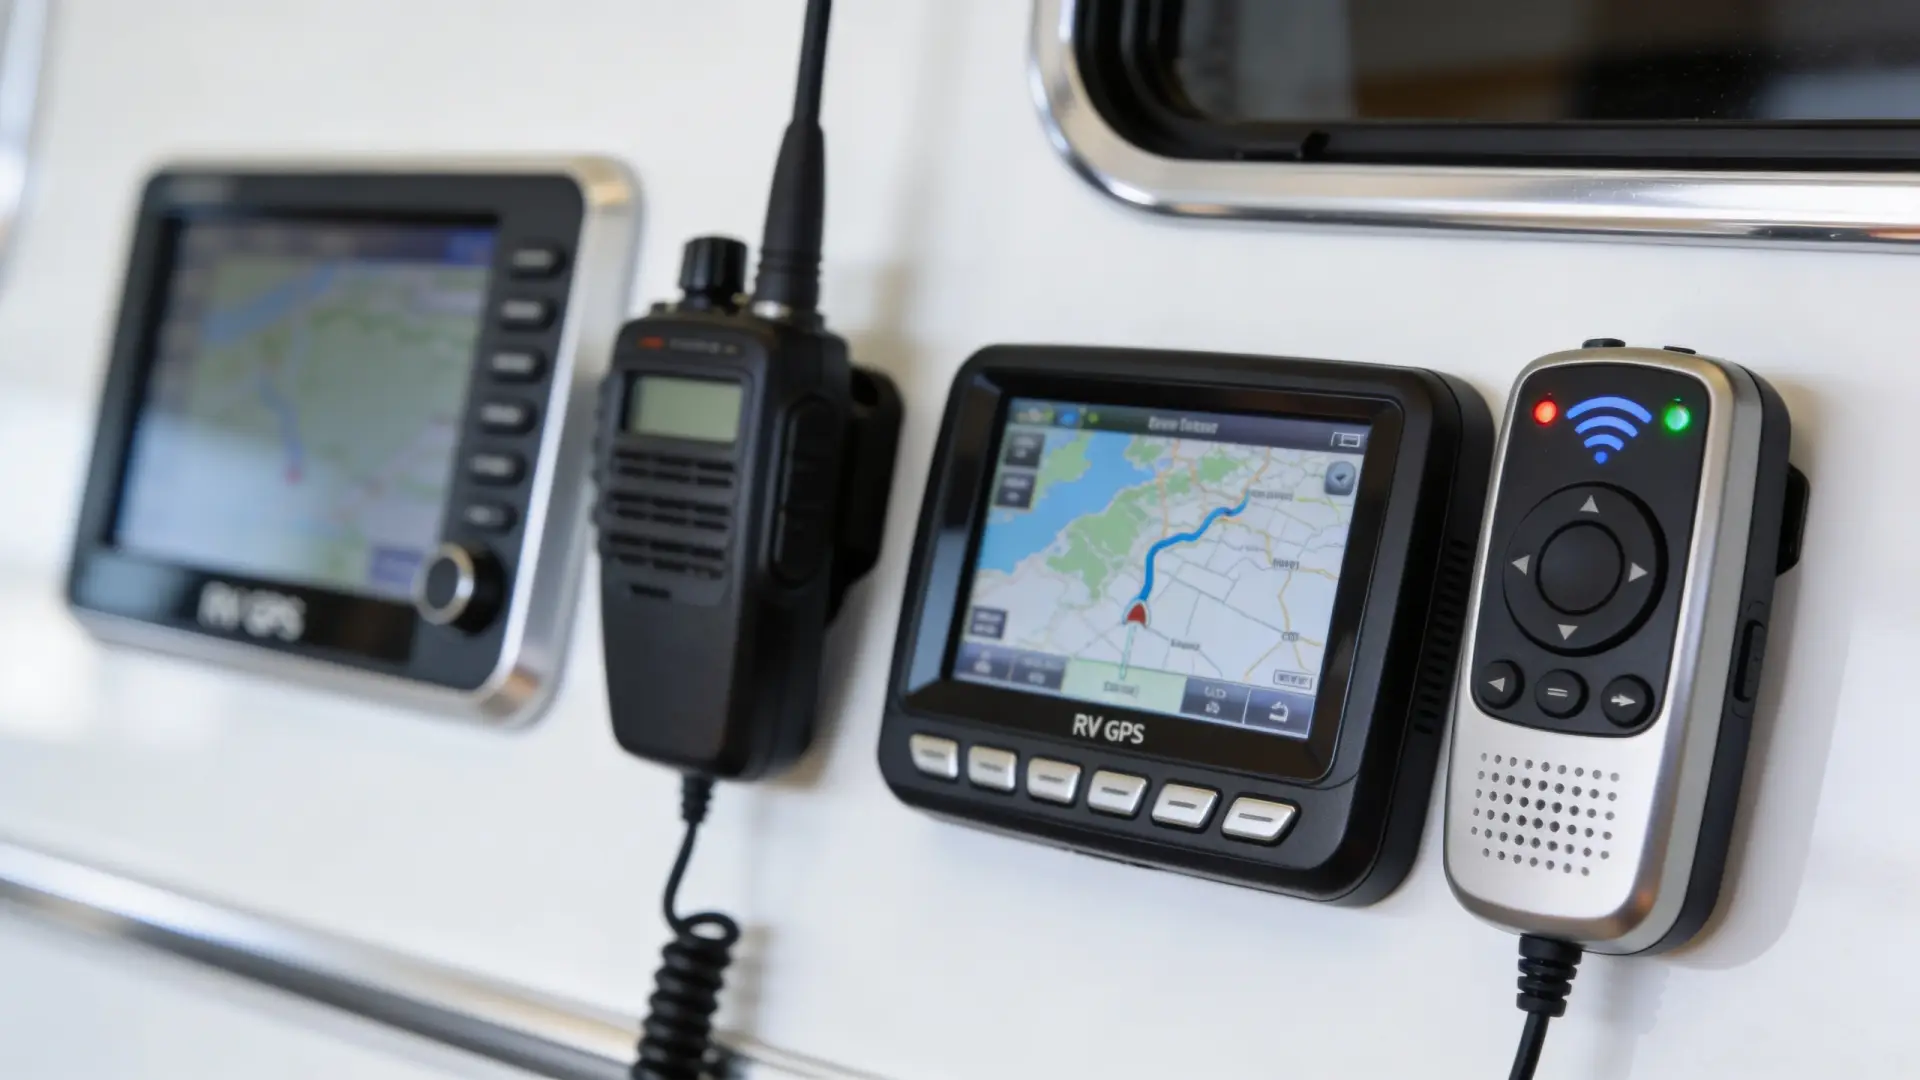
Modern navigation starts with a good GPS unit or smartphone app. While most phones include mapping capabilities, a dedicated RV GPS considers vehicle size, weight, and height restrictions—crucial factors that prevent low-bridge collisions or turns too tight for your rig. Additionally, offline maps work without cell service, which matters when you’re boondocking in remote areas.
Communication equipment keeps you connected and safe. A CB radio or two-way radio allows communication with other RVers on the road. Cell phone boosters improve signal strength in areas with weak coverage. Consider a satellite communicator if you plan extended time in truly remote locations, as cell service can be unreliable. Additionally, having a reliable backup like a personal locator beacon provides peace of mind.
Don’t forget about entertainment and information resources. A portable WiFi hotspot or mobile data plan keeps you connected for work or streaming. However, the best preparation is understanding local conditions where you’ll travel. Research campground amenities, weather patterns, and attractions using guides to scenic RV routes and destinations that give you real-world travel information.
Step 11: Install Navigation Systems
Download a quality RV-specific navigation app on your smartphone or purchase a dedicated GPS unit designed for RVs. Programs like Google Maps allow you to input your vehicle size, so it routes around low clearances and narrow roads. Test your navigation at home with a few local trips to understand how it works before relying on it for long-distance travel.
Step 12: Set Up Communication Backup
Purchase a cell phone signal booster and install it correctly for maximum effectiveness. Consider a CB radio for road communication and emergency situations. If you’re traveling to very remote areas without cellular service, research whether a satellite communicator fits your budget and travel plans. These devices send text messages and emergency signals when nothing else works.
Getting Started Right
The key to successfully outfitting your RV is prioritizing safety and functionality before accessories and luxuries. Start with the equipment covered in this guide, then add items as you discover what matters for your personal travel style. Many RVers spend their first few trips identifying gaps in their setup, and that’s perfectly normal. The advantage of gradual expansion is learning what you actually use versus what sits unused in storage.
Before your first major trip, take time to thoroughly inspect your RV and test every system. Run the water pump, check the furnace, test all lights, and verify that brakes and tires are in excellent condition. Understanding your RV before you’re miles from help prevents emergencies and builds confidence. Furthermore, consulting a comprehensive first trip checklist ensures you don’t overlook critical details.
Remember that your RV is a vehicle first and foremost. Regular maintenance prevents expensive repairs and keeps you safe on the road. Consider learning the basics of generator repair and propane system maintenance so you can handle minor issues without waiting for professional service. The RV lifestyle rewards preparation and self-reliance, making your journey more enjoyable and your investment more worthwhile.
The lifestyle awaits once you’re properly equipped. Start with the essentials, invest in quality where it matters most, and build your setup gradually. Each trip teaches you something new, and your equipment list evolves with your experience. Take your time selecting gear, ask questions at RV forums or campgrounds, and don’t hesitate to learn from other travelers. The RV community is genuinely helpful, and you’ll find that nearly every question has been answered by someone who’s already been there.


4 Comments on “Essential RV Gear for 2026: What Equipment Do New RVers Need?”