So, you’re wondering about RV solar cost. The short answer is: it varies wildly. You could spend anywhere from a few hundred dollars for a basic, portable setup to well over $10,000 for a robust, whole-RV system with top-tier components. It really depends on how much power you need, how long you want to be off-grid, and the quality of the components you choose. Let’s delve into what drives those numbers.
Before we even talk about costs, you need to figure out your energy appetite. This is the single biggest factor influencing your solar budget.
Table of Contents
Calculating Your Daily Watt-Hours
This isn’t as scary as it sounds. Take a list of all the electrical items you use in your RV – lights, fan, fridge, laptop, coffee maker, TV – and for each, estimate its wattage and how many hours a day you’ll run it. Multiply wattage by hours to get watt-hours per day for each item, then add them all up. Don’t forget that inverter efficiency losses (usually around 10-20%) should also be factored in.
Battery Bank Sizing
Once you know your daily watt-hour consumption, you can size your battery bank. Your batteries are your energy storage. You don’t want to drain them completely; a good rule of thumb for lead-acid batteries is not to discharge below 50%, while lithium batteries can safely go much lower (often 80-100%). You’ll want enough battery capacity to cover at least 2-3 days of your power needs, especially if you anticipate cloudy weather. This is where costs can really diverge.
When considering the costs associated with RV solar systems, it’s essential to weigh the differences between budget and premium options. For those looking to enhance their RV experience while exploring beautiful landscapes, you might find inspiration in our article on the 10 Scenic RV Drives in the USA You Can’t Miss. This guide not only highlights breathtaking routes but also emphasizes the importance of having a reliable power source, making your solar investment even more worthwhile as you embark on your adventures.
Panels: The Sun Catchers
The panels are what turn sunlight into electricity. Their cost is primarily driven by their wattage and type.
Monocrystalline vs. Polycrystalline
- Monocrystalline: These are typically more efficient, meaning they take up less space for the same power output. They tend to perform slightly better in low-light conditions. They’re also generally more expensive per watt.
- Polycrystalline: A bit less efficient, so you’ll need more surface area for the same power. They’re usually more budget-friendly. For many RVers, the slight efficiency difference isn’t a dealbreaker, especially if roof space isn’t extremely limited.
Panel Wattage and Quantity
A 100-watt panel can range from $80 to $150, while a 200-watt panel might be $150 to $250. If your daily consumption is moderate, say 500-800 Wh, you might get away with 200-400 watts of panels. If you’re running an AC or a hair dryer off-grid, you’re looking at 1000 watts or more. The more panels you need, the higher the cost.
Rigid vs. Flexible Panels
- Rigid Panels: These are the most common, robust, and generally have a longer lifespan. They require mounting brackets. They’re typically more cost-effective per watt.
- Flexible Panels: Lighter, can conform to curved surfaces, and often require no drilling for installation (they can be glued down). However, they generally have a shorter lifespan, are less efficient, and can overheat if not properly ventilated, leading to reduced performance. They are usually more expensive per watt.
Portable Panels
For smaller needs or as a supplement, portable panels (often folding suitcases) are great. They’re easy to set up and move into the sun. A 100-200 watt portable kit might cost $200-$500 and often includes a basic charge controller.
Batteries: The Power Banks
This is often the most expensive component, particularly if you opt for premium options.
Lead-Acid Batteries (Budget-Friendly)
- Flooded Lead-Acid (FLA): The cheapest upfront. They require maintenance (checking water levels) and ventilation. They can only be discharged to about 50% without damaging them, meaning you need twice the stated capacity for usable power. A 6V golf cart battery (common for RVs) might be $150-$250 each. You typically need two in series for 12V.
- Sealed Lead-Acid (SLA) – AGM/Gel: Maintenance-free and don’t require venting. Slightly more expensive than FLAs, but still subject to the 50% discharge limit. An AGM 100Ah 12V battery might be $250-$450.
Generally, a useful 200Ah (100Ah usable) lead-acid bank could cost you $500-$900.
Lithium Iron Phosphate (LiFePO4) Batteries (Premium Option)
These are the gold standard for RV solar.
- Higher Usable Capacity: You can discharge them almost fully (80-100%) without damage, meaning a 100Ah LiFePO4 battery offers nearly double the usable power of a 100Ah lead-acid.
- Longer Lifespan: They last significantly longer (thousands of cycles vs. hundreds for lead-acid), often offsetting the higher upfront cost over time.
- Lighter Weight: Crucial for RVs where weight is always a concern.
- Faster Charging: They accept charge much more efficiently.
- Cost: This is where the “ouch” factor comes in. A good quality 100Ah 12V LiFePO4 battery typically ranges from $500 to $1000+. For a decent sized bank (say, 200Ah usable), you’re looking at $1000-$2000+.
While the upfront cost is higher, for serious boondockers, lithium often makes more financial sense in the long run because of their lifespan and performance.
Charge Controllers: The Brains
The charge controller regulates the power coming from your solar panels to your batteries, preventing overcharging and optimizing battery health.
PWM (Pulse Width Modulation) Controllers (Budget)
- How they work: Essentially, they switch the solar array on and off rapidly to match battery voltage.
- Efficiency: Less efficient, especially when solar panel voltage significantly exceeds battery voltage. You lose some power as heat.
- Cost: Very affordable, starting from $30-$100 for smaller systems. Fine for small, simple setups.
MPPT (Maximum Power Point Tracking) Controllers (Premium)
- How they work: These are much smarter. They dynamically track the maximum power point of the solar array, converting excess voltage into additional amperage.
- Efficiency: Significantly more efficient (10-30% more power harvest) than PWM controllers, especially in cooler temperatures or when panels and batteries have disparate voltages.
- Cost: More expensive, ranging from $100 for smaller units to $400-$800+ for larger, more feature-rich controllers required for bigger systems. If you’re investing in a substantial solar array and lithium batteries, an MPPT controller is a must to get the most out of your setup.
When considering the costs associated with RV solar systems, it’s essential to understand the differences between budget and premium options. For a more comprehensive overview of what new RVers might need, including insights into solar equipment, you can check out this informative article on essential gear for new RVers. This resource can help you make informed decisions about your solar investment, ensuring you choose the right setup that fits your lifestyle and budget.
Inverters: AC Power Providers
| Component | Budget | Premium |
|---|---|---|
| Solar Panels | Polycrystalline | Monocrystalline |
| Battery | Lead Acid | Lithium-ion |
| Inverter | Modified Sine Wave | Pure Sine Wave |
| Charge Controller | PWM | MPPT |
| Installation | DIY | Professional |
Your inverter takes the DC power from your batteries and converts it into AC power, allowing you to run standard household appliances.
Modified Sine Wave Inverters (Budget)
- Cost: Much cheaper, often starting from $50 for small units up to a few hundred for larger ones.
- Compatibility: Can run basic resistive loads like heating elements or simple tools.
- Limitations: Not suitable for sensitive electronics (laptops, TVs, medical devices), inductive loads (fridges, microwaves), or anything with a motor. They can cause buzzing, damage, or reduced efficiency to such appliances.
Pure Sine Wave Inverters (Premium)
- Cost: Significantly more expensive, with a 1000-watt pure sine inverter starting around $200-$400, and larger units (2000-3000 watts) ranging from $500 to $1500+.
- Compatibility: Essential for any sensitive electronics or inductive loads. They produce AC power identical to what you get from shore power.
- Types:
- Stand-alone Inverter: Just an inverter. You might have a separate shore power charger.
- Inverter-Charger: A premium option that combines an inverter with a powerful multi-stage battery charger. It can also manage shore power and generator input, acting as an automatic transfer switch. These are usually the way to go for comprehensive systems, but add to the cost ($800-$2500+).
The size of your inverter (wattage) depends on the peak power draw of the AC appliances you plan to run. If you want to use a microwave or an air conditioner, you’ll need at least a 2000-3000 watt pure sine inverter, which is a substantial investment.
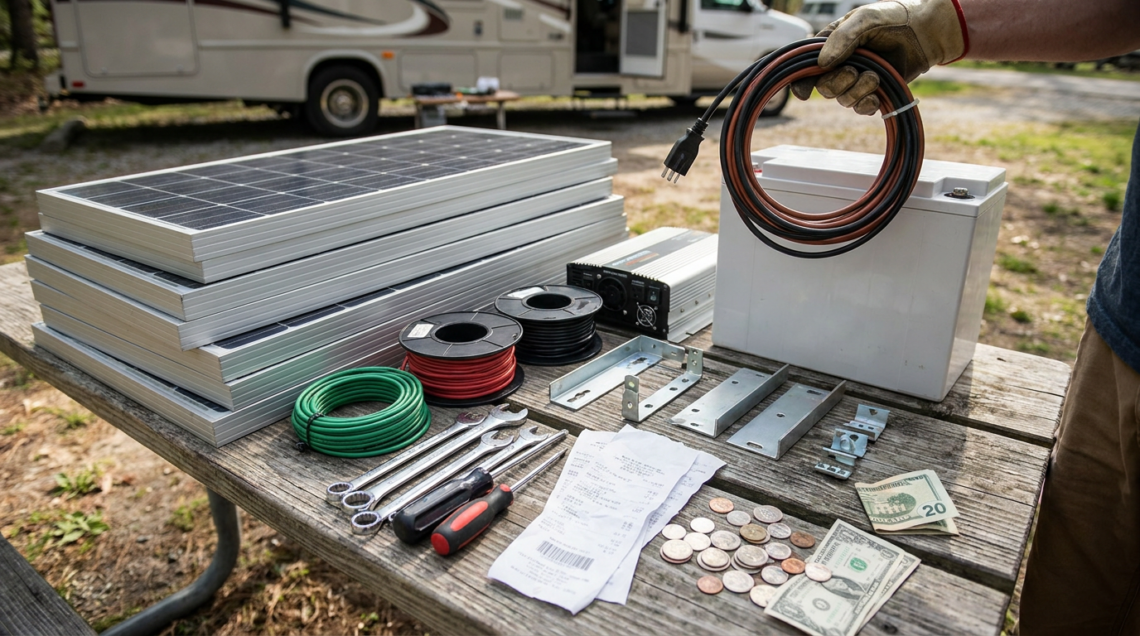
Wiring, Fuses, Mounts, and Miscellaneous Parts
Don’t forget these “small” but essential items. They add up quickly.
Wiring and Connectors
- Cable Sizing: Proper wire sizing is critical for safety and efficiency. Undersized wires can lead to voltage drop and present a fire hazard. Larger diameter wires handle more current and cost more. Depending on your system size, you might need heavy gauge battery cables, solar panel wiring (MC4 connectors), and wiring for your inverter.
- Cost: Can range from $100 to $400+, especially for thick copper battery cables.
Fuses and Circuit Breakers
- Safety First: Absolutely non-negotiable. You’ll need fuses or breakers for your solar array, between your charge controller and batteries, and between your batteries and inverter.
- Cost: Plan for $50-$200 depending on the type and number required.
Mounting Hardware
- Panel Mounts: These secure your panels to the RV roof. Z-brackets are common and inexpensive ($20-$50 for a set). Tilt mounts allow you to angle your panels for better sun exposure but are more expensive ($50-$150 per panel).
- Sealants: Proper sealing to prevent leaks where mounts penetrate your roof is crucial. ($20-$50).
Monitoring Systems
- Battery Monitors: A good battery monitor (like a Victron BMV or SmartShunt) is invaluable. It gives you an accurate “fuel gauge” for your battery bank, showing state of charge, current draw, and power remaining.
- Cost: $150-$300, but highly recommended, especially with lithium batteries.
- System Monitors: For larger, more complex systems, a central display or app that monitors all components (solar input, battery status, inverter draw) can be very helpful.
Installation Costs (DIY vs. Professional)
This is a huge variable.
- DIY: If you’re handy and have the time, you can save thousands. However, proper knowledge of electrical systems, wiring, and safety is paramount. Mistakes can be costly or dangerous.
- Professional Installation: Expect to pay anywhere from $1000 to $4000+ for labor alone, depending on the complexity of the system and regional rates. This is a significant chunk of the budget, but ensures a safe, reliable, and optimized system. If you’re not comfortable with electrical work, it’s money well spent.
Putting It All Together: Budget vs. Premium Examples
Let’s look at some hypothetical scenarios. These are rough estimates and can fluctuate based on brands, sales, and specific needs.
Budget-Friendly Starter System (Weekend Warrior)
- Goal: Keep lights on, charge phones/laptops, run a small fan, maybe a small 12V fridge. Limited boondocking.
- Panels: 2 x 100W Polycrystalline panels ($200-$300)
- Batteries: 2 x 6V Golf Cart FLA batteries (220Ah total, 110Ah usable) ($300-$500)
- Charge Controller: Small 20A PWM controller ($50-$80)
- Inverter: 500W Modified Sine Wave (for phone/laptop chargers) ($60-$100)
- Wiring/Mounts/Fuses: ($100-$200)
- Total DIY Cost: $710 – $1180
- With Pro Install: Add $1000-$1500 for labor.
This system will give you a taste of solar, but you’ll still be quite limited on power-hungry appliances.
Mid-Range System (Moderate Boondocker)
- Goal: Run most 12V appliances, charge multiple devices, occasional use of small AC items (TV, coffee maker). 2-3 days off-grid.
- Panels: 4 x 100W Monocrystalline panels (400W total) ($600-$900)
- Batteries: 2 x 100Ah LiFePO4 batteries (200Ah usable) ($1000-$2000)
- Charge Controller: 40-50A MPPT controller ($200-$400)
- Inverter: 1500-2000W Pure Sine Wave inverter ($300-$600)
- Wiring/Mounts/Fuses/Monitor: ($300-$600)
- Total DIY Cost: $2400 – $4500
- With Pro Install: Add $1500-$3000 for labor.
This system provides a good balance of power and cost, allowing for comfortable boondocking for moderate periods.
Premium, High-Power System (Extended Off-Grid Living)
- Goal: Run virtually all RV appliances, including microwave, hair dryer, residential fridge, and potentially a small AC for short bursts. Long-term boondocking.
- Panels: 6-8 x 100W (or 3-4 x 200W/300W residential) Monocrystalline panels (600-1000W total) ($900-$2000)
- Batteries: 3-4 x 100Ah LiFePO4 batteries (300-400Ah usable) ($1500-$4000)
- Charge Controller: 60-100A High-end MPPT controller (or multiple smaller ones) ($400-$800)
- Inverter: 3000W+ Pure Sine Wave Inverter-Charger with automatic transfer switch ($1000-$2500)
- Wiring/Mounts/Fuses/Advanced Monitoring: ($400-$800)
- Total DIY Cost: $4200 – $10100+
- With Pro Install: Add $3000-$5000+ for labor (complex systems require more time).
This kind of setup offers true energy independence but comes with a significant price tag. It’s often chosen by full-time RVers or those who frequently dry camp for extended periods in remote locations.
As you can see, there’s no single answer to “how much does RV solar cost?” It’s a journey of self-assessment (power needs), research (component quality), and decision-making (DIY vs. professional install). Getting a clear picture of what you want to achieve with solar will help you navigate the options and build a system that suits both your lifestyle and your wallet.
FAQs
1. What are the main components of an RV solar system?
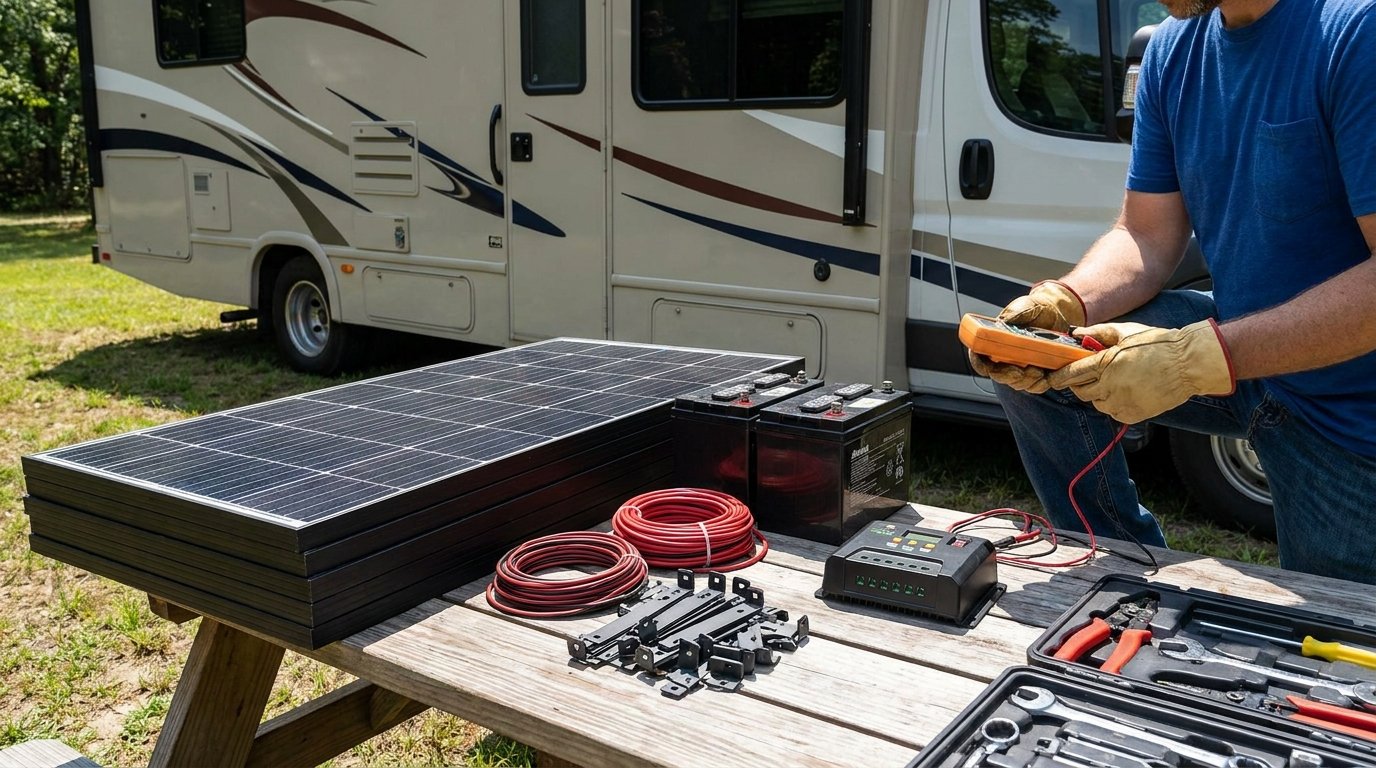
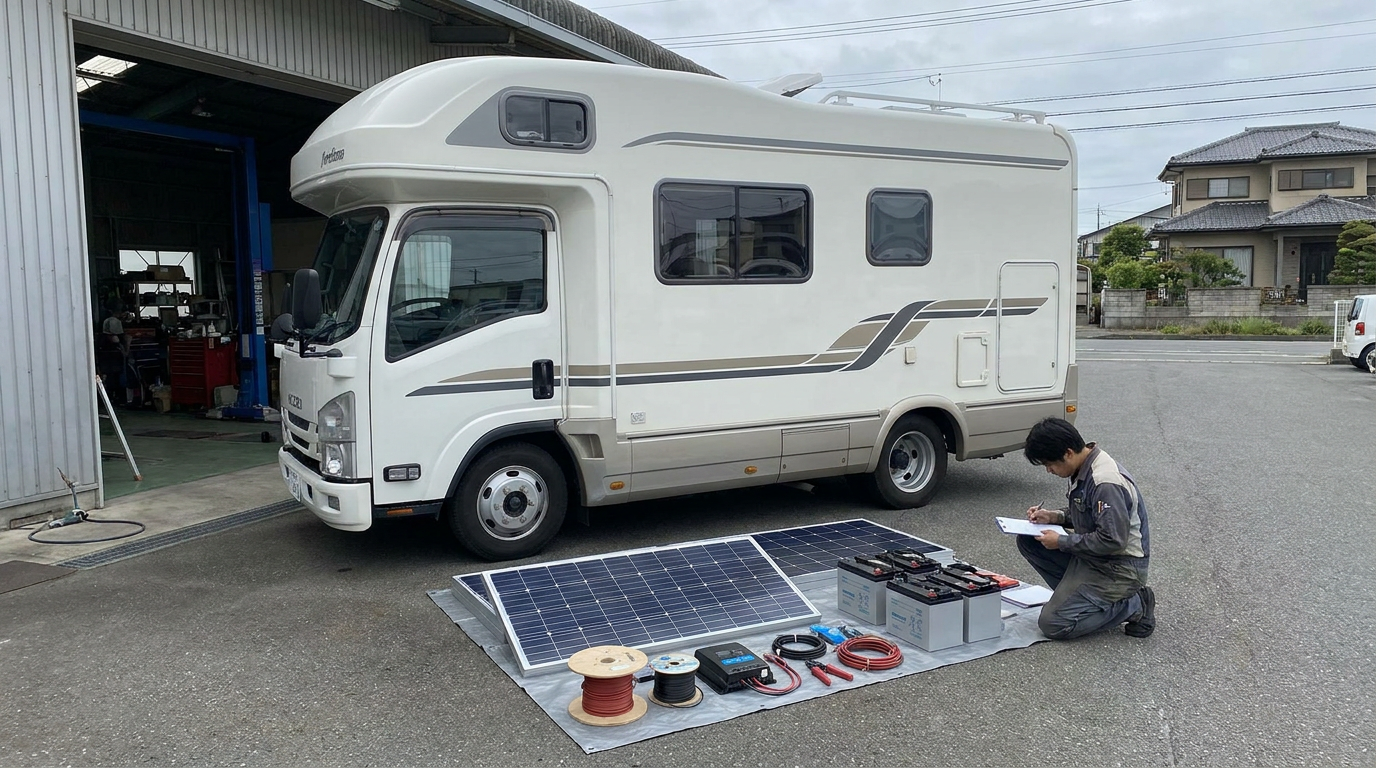
The main components of an RV solar system include solar panels, charge controller, batteries, inverter, wiring, and mounting hardware.
2. What is the average cost of a budget RV solar system?
The average cost of a budget RV solar system ranges from $500 to $2,000, depending on the size and quality of the components.
3. What is the average cost of a premium RV solar system?
The average cost of a premium RV solar system ranges from $2,000 to $10,000, depending on the size and quality of the components, as well as additional features such as MPPT charge controllers and lithium batteries.
4. What are the benefits of a budget RV solar system?
A budget RV solar system provides a cost-effective way to generate electricity while boondocking, allowing for basic power needs such as charging devices and running lights.
5. What are the benefits of a premium RV solar system?
A premium RV solar system offers higher efficiency, longer lifespan, and more advanced features, making it suitable for powering larger appliances and electronics while off-grid.