
You’re in a situation where you need to get your RV level, but those trusty leveling blocks are nowhere to be found, or maybe you just don’t want to bother with them. The short answer is yes, you can absolutely level an RV without leveling blocks, though it often requires a bit more improvisation and site-specific solutions. The key is to leverage the terrain and your RV’s existing features, sometimes even getting a little creative with the ground itself. It’s more about smart positioning and using what’s available than a single, universal block-free method.
Table of Contents
Why Even Bother Without Blocks?
Let’s face it, leveling blocks are convenient. They’re designed for the job and make the process relatively straightforward. So why would you intentionally avoid using them? Well, there are a few scenarios. Maybe you forgot them at home (it happens to the best of us!). Perhaps you’re boondocking in a remote spot and didn’t anticipate needing them. Or maybe you’re just looking for a more organic, less gear-dependent way to get things settled.
Sometimes, a campsite is just slightly off, and pulling out a whole stack of blocks feels like overkill. Whatever the reason, knowing how to manage without them can save you a headache and ensure a more comfortable stay. A level RV means your fridge works efficiently, your shower drains properly, and you don’t feel like you’re constantly walking uphill in your own home.
The Comfort Factor
An unlevel RV might not seem like a huge deal at first, but try sleeping on a tilted bed or cooking on a slanted counter. Things slide, water pools where it shouldn’t, and your refrigerator might not operate effectively, potentially leading to food spoilage. Even just walking around in an unlevel RV can become surprisingly annoying over time. It’s not just about aesthetics; it’s about practical comfort and the proper functioning of your RV’s systems.
Equipment Preservation
Beyond comfort, an unlevel RV can put undue stress on various components. Doors might not close correctly, slides could bind, and plumbing systems might not drain as intended. The refrigerator, in particular, relies on being reasonably level to function correctly, especially older absorption models. Prolonged operation while significantly off-level can even damage the cooling unit. Taking the time to level, even without blocks, is an investment in the longevity and trouble-free operation of your RV.
If you’re looking to enhance your RV experience beyond just leveling, you might find it helpful to explore the article on the best boondocking apps for finding free campsites. These apps can guide you to ideal locations where you can park your RV without the need for expensive campgrounds, making your travels more adventurous and budget-friendly. Check out the article here: The 6 Best Boondocking Apps for Finding Free Campsites.
Starting Smart: Site Selection and Initial Positioning
The absolute best way to avoid needing blocks (or to minimize the need for any leveling effort at all) is to pick your parking spot wisely. This might sound obvious, but it’s often overlooked in the excitement of arriving at a new destination. Before you even think about engaging your parking brake, take a good look around.
Choosing Your Spot
Scan the area for the flattest ground available. Sometimes, moving your rig just a few feet forward, backward, or to the side can make a significant difference. Don’t be afraid to walk the area and visually assess the slope. Look for areas where water might collect after a rain, as these are often the lowest points. Similarly, areas that seem unusually dry or elevated could indicate higher ground. A slight incline is manageable, but a severe slope will always be a challenge without proper tools.
Nudging and Observing
Once you’ve identified a promising area, don’t just pull in and park. Drive your RV slowly onto the spot, stopping occasionally to get out and observe. Is the front higher than the back? Is one side noticeably lower? By making small adjustments to your parking position – pulling forward, backing up a bit, or shifting laterally – you can often reduce the degree of leveling needed. Think of it as pre-leveling. The less “off” you are to begin with, the less improvisation you’ll need later. This initial assessment and adjustment phase is crucial for minimizing the work later on.
Utilizing Digital Tools
While not strictly a “no blocks” method, using a digital level tool can drastically improve your initial positioning and help you understand how far off you are. Apps on your phone or dedicated devices like LevelMatePRO can give you real-time feedback on your RV’s angle. This allows you to make informed decisions about where to park and how much you need to adjust, reducing the trial-and-error often associated with manual leveling. You can use these tools to drive around your spot, finding the sweet spot where the least amount of leveling is required, before you even commit to parking.
The Foundation: Side-to-Side First
This is a fundamental rule in RV leveling, whether you’re using blocks or not: always address the side-to-side level before tackling the front-to-back. Why? Because adjusting the side-to-side level often involves lifting or lowering one entire side of the RV. If you’ve already leveled front-to-back, changing the side-to-side will throw off your front-to-back measurements again, forcing you to redo that step.
Visual Assessment and Initial Plan
Once you’ve settled on your general parking spot, get out and walk around your RV with a small spirit level (or use your phone’s level app). Place it on the floor inside, on a counter, or even on your bumper if you know it’s relatively flat. Determine which side is lower. Your goal is to bring the lower side up to match the higher side, or in block-free scenarios, sometimes to bring the higher side down.
Using the Terrain Creatively
This is where the “no blocks” part gets interesting.
Driving Onto Naturally High Ground to Level an RV Without Leveling Blocks
If one side of your RV is low, look for a slight rise or hump in the ground that you can drive that side’s tires onto. Even a small natural mound of dirt, a slight incline, or a raised section of pavement can provide the elevation you need. This is essentially using nature’s own “block.” Drive slowly and check your level frequently until you’re good side-to-side. Remember, always place your wheel chocks immediately after finding your side-to-side level.
Lowering the High Side: The “Digging” Method
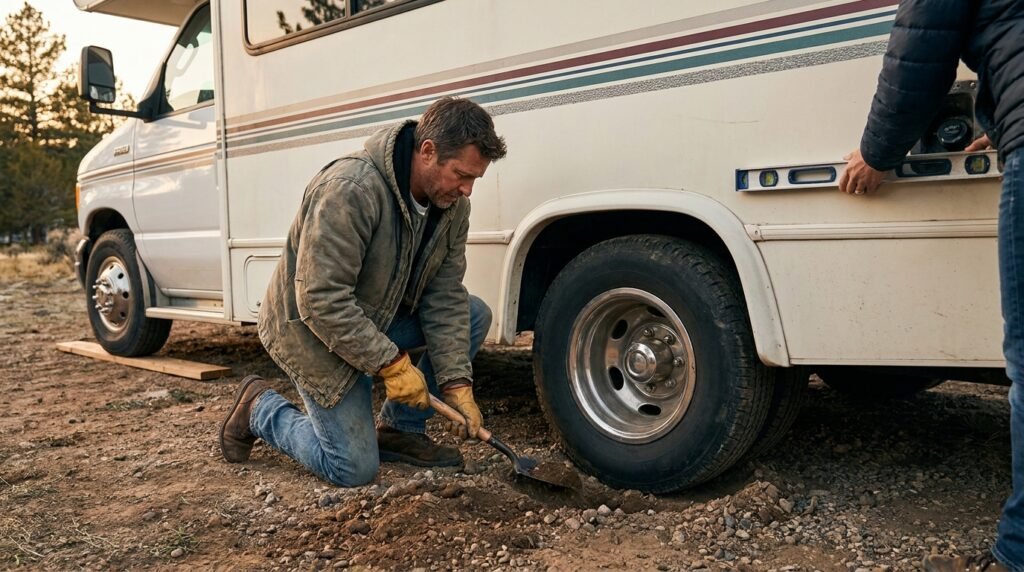
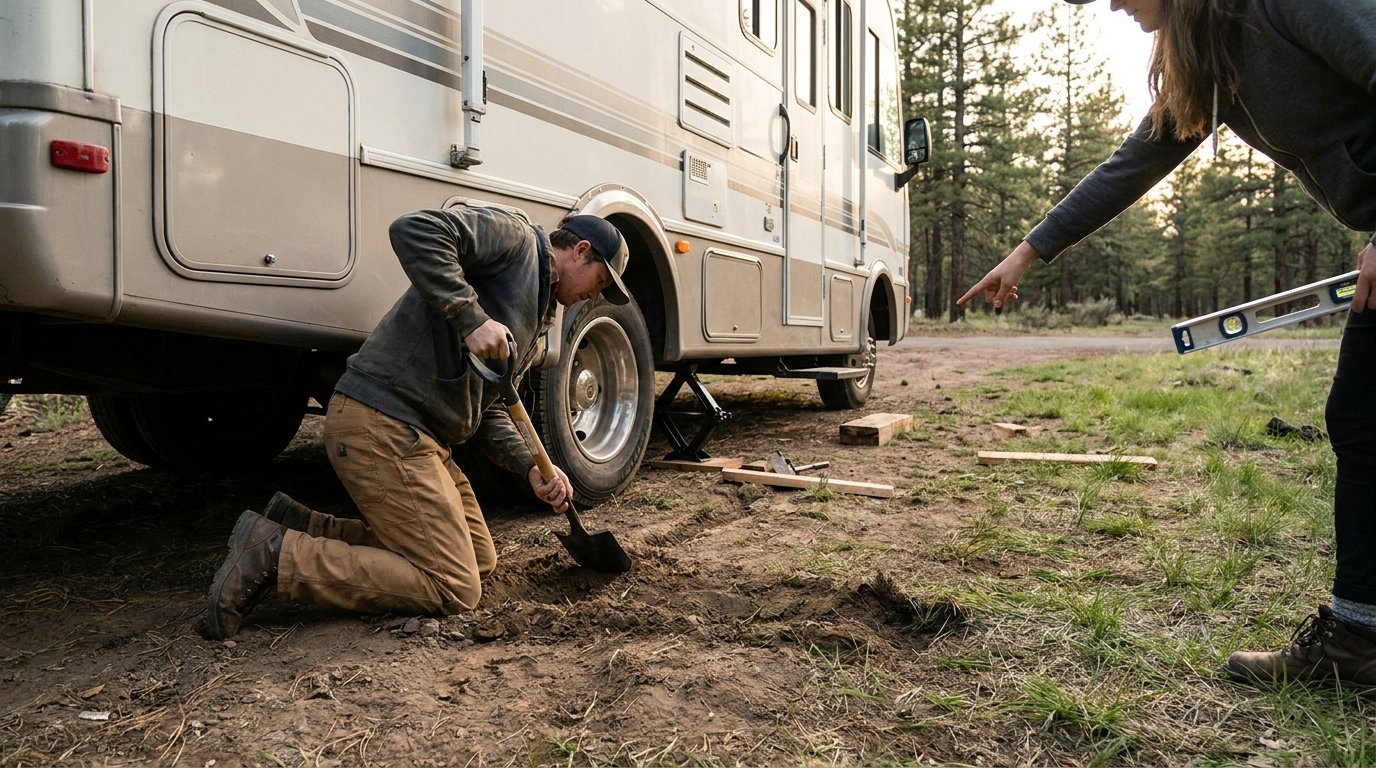
This is a more hands-on approach and one of the newer suggestions for block-free leveling. If one side of your RV is too high, you can, in suitable terrain, dig small depressions or ruts behind the tires on the high side. Then, slowly back your RV into these depressions. This effectively lowers that side of the RV to match the lower side. This method is best suited for softer ground (like dirt or gravel) where digging is feasible and won’t damage the surface (e.g., don’t try this on concrete or asphalt). You’ll need a small shovel or a sturdy spade for this, so it’s not entirely gear-free, but it certainly doesn’t require manufactured leveling blocks.
Tire Pressure Adjustments (with caution)
While not a primary leveling method, slightly adjusting tire pressure can offer minimal fine-tuning. If one side is very slightly high, letting a tiny bit of air out of the tires on that side can drop it a hair. Conversely, adding a bit of air to the tires on the low side might raise it. However, this is a very minor adjustment, requires an air compressor, and you must be extremely careful not to go below your tire’s minimum safe pressure or exceed its maximum. This is more of a last-resort, fine-tune option for very small discrepancies, and shouldn’t be relied upon for significant leveling. Always re-inflate tires to proper pressure before driving.
Finishing Up: Front-to-Back Leveling
Once your RV is perfectly level from side-to-side, it’s time to tackle the front-to-back adjustment. This is generally easier and more straightforward, as most RVs have built-in mechanisms for this.
Utilizing Your Tongue Jack (Travel Trailers)
For travel trailers, the tongue jack is your primary tool for front-to-back leveling. Once your side-to-side is done and your chocks are in place, simply operate the tongue jack to raise or lower the front of the trailer until it’s level. This is usually an electric or manual crank, and it’s quite effective for getting that perfect front-to-back angle.
Using Rear Stabilizer Jacks (All RVs, with caveats)
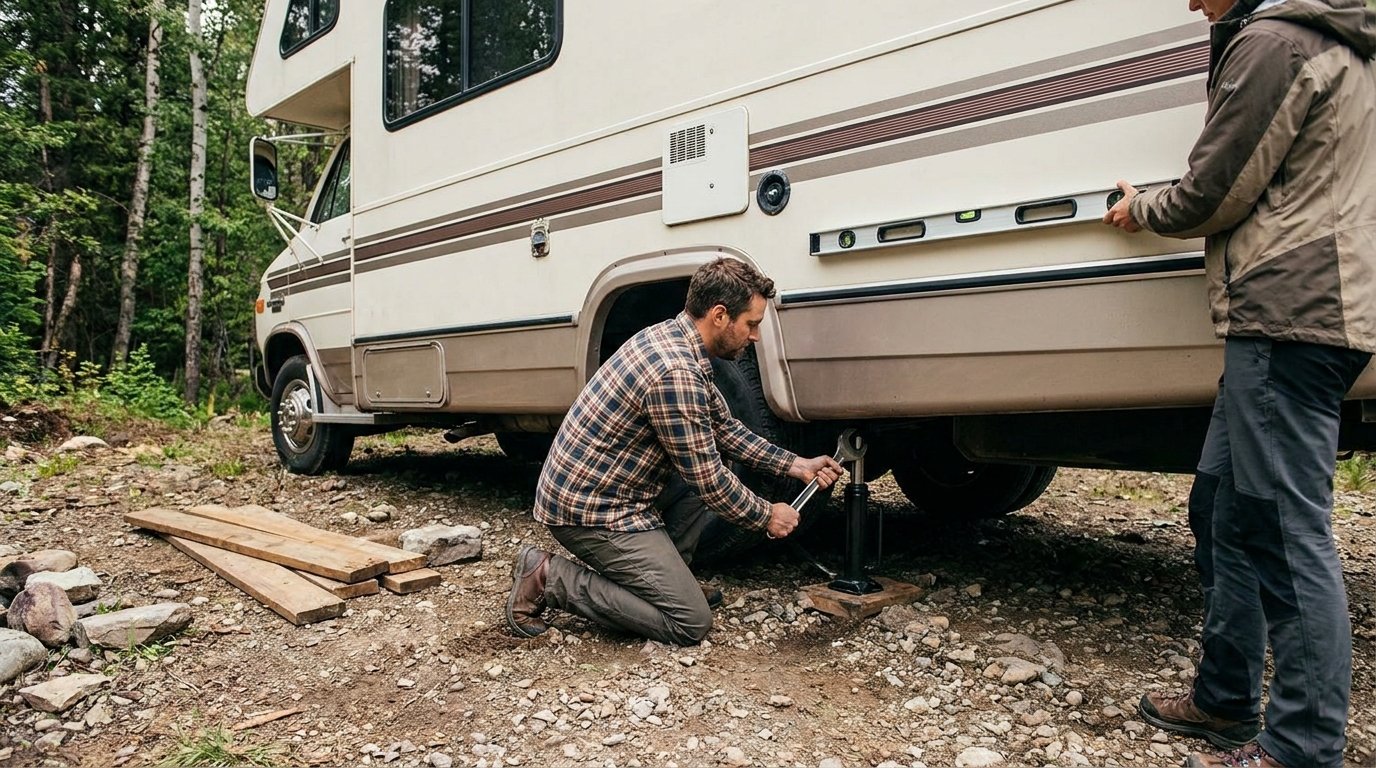
Most RVs, both travel trailers and motorhomes, come equipped with stabilizer jacks. **It’s crucial to understand that these are for stabilizing, not for leveling in a major way.** They are designed to prevent the RV from rocking and swaying once it’s already level, not to lift significant weight. However, they can be used for very minor, fine-tune front-to-back leveling after your primary side-to-side is established and only if you’re only off by a very small amount. Over-cranking or over-extending stabilizer jacks to lift the RV can bend them, damage their mounts, or even distort the RV’s frame. Use them gently and only for the last little bit of adjustment needed, not for major lifts.
The Power of Drive-On Leveling (Motorhomes)
For motorhomes, you have the advantage of being able to drive onto various surfaces. If the front is low, you might be able to drive the front wheels onto a slight rise in the ground. If the back is low, try backing the rear wheels onto a similar rise. This works similarly to the side-to-side terrain method but applied longitudinally. Remember to put your transmission in park and set the parking brake firmly once you’re in position.
If you’re looking for alternative methods to stabilize your RV without relying on leveling blocks, you might find it helpful to explore a related article that discusses various techniques for achieving a balanced setup. This guide offers insights into using natural terrain features and adjusting your RV’s positioning to ensure a comfortable experience. For more detailed information, you can check out this helpful resource that complements the tips on leveling your RV effectively.
Essential Safety Measures and Final Checks
| Method | Tools Needed | Estimated Time | Accuracy | Notes |
|---|---|---|---|---|
| Using Built-in Leveling Jacks | RV leveling jacks, bubble level | 10-20 minutes | High | Requires RV equipped with leveling jacks; easy to adjust |
| Adjusting Wheel Chocks and Tire Pressure | Wheel chocks, tire pressure gauge | 15-30 minutes | Medium | Lower tire pressure on high side to lower that side; less precise |
| Using a Rock or Wood Wedge | Sturdy rock or wood wedge, bubble level | 10-15 minutes | Medium | Place wedge under tires or frame; less stable than blocks |
| Parking on Natural Terrain Features | Bubble level | 5-10 minutes | Low to Medium | Find naturally level ground or slight incline; limited options |
| Using Manual Crank Stabilizers | Manual stabilizer jacks, bubble level | 10-20 minutes | Medium | Stabilizes RV but may not fully level; supplemental method |
No matter what method you use to level your RV, safety should always be your top priority. An unchocked RV can be incredibly dangerous, especially if you’re working underneath it or relying on potentially unstable ground.
Wheel Chocks are Non-Negotiable
This point cannot be stressed enough: always use wheel chocks. After you’ve achieved your side-to-side level (or even after your initial parking if the ground isn’t perfectly flat), place sturdy wheel chocks on both sides of the tires that are not being moved or adjusted. If you’re leveling a travel trailer, chock the wheels on both sides before you even unhitch from your tow vehicle. For motorhomes, chock the wheels once you’ve settled into your final parking spot and before you engage any leveling systems or start any manual adjustments. This prevents the RV from rolling, which can lead to serious injury or damage. Don’t rely solely on your parking brake, especially on an incline.
A Bubble Level’s Best Friend
Even with digital tools, a good old-fashioned bubble level is an indispensable companion. Keep one inside your RV (on a flat counter or the floor) and one outside. Continuously check your progress as you make adjustments. Don’t just rely on how it feels. Small discrepancies can add up to uncomfortable living, so aim for that perfect bubble. Many RVers will place a small torpedo level on their counter or floor and leave it there during the process to keep an eye on things.
Walking Through the RV
Once you think you’re level, walk through your RV. Open and close cabinets and doors. Do they swing freely or do they stick? Does water drain quickly in the sink or shower? Does the toilet flush without issue? These real-world tests will often reveal minor unlevel spots that a bubble level might not immediately catch, or they’ll confirm that your efforts have paid off. Spend a few minutes just experiencing the RV in its “level” state.
Stabilizing, Not Leveling
Once you’ve achieved level, deploy your stabilizer jacks (if your RV has them). Remember, these are for stability – to reduce rocking and swaying – not for lifting the RV. Extend them until they make firm contact with the ground and apply a little pressure, but avoid lifting the RV off its suspension. Over-cranking can damage them. This final step will make your RV feel much more solid and comfortable, especially when people are moving around inside.
If you’re looking for alternative methods to stabilize your RV without using leveling blocks, you might find the article on RV leveling techniques particularly helpful. This resource explores various strategies that can enhance your camping experience by ensuring your RV is balanced and secure, even in challenging terrains. Whether you’re parked on a slight incline or uneven ground, these tips can make a significant difference in your comfort and safety while enjoying the great outdoors.
When “No Blocks” Doesn’t Quite Cut It
While these methods offer solutions for block-free leveling, it’s important to recognize their limitations. Sometimes, the terrain is simply too challenging, or the degree of unlevelness is too great for these improvised techniques.
Severely Uneven Terrain
If you’re parked on a steep slope, or if one corner of your RV is significantly lower than the others, trying to level without blocks might be a losing battle. In such cases, you might be better off moving to a different spot, or if that’s not possible, accepting a less-than-perfect level for a short stay. Trying to force it can lead to damage to your RV or an unstable setup.
Lack of Suitable Materials or Tools
The “digging” method requires soft ground and a shovel. Using natural rises depends on those rises being present where you need them. If you’re on solid concrete or asphalt with no natural features, and you don’t have a shovel for digging, your options become extremely limited without traditional blocks or an auto-leveling system.
The Value of Auto-Leveling Systems
Many newer motorhomes and some higher-end travel trailers come with automatic leveling systems. These systems, whether hydraulic or electric, use a series of jacks to automatically detect and adjust the RV to a level position with the push of a button. While they don’t count as “no blocks” in the manual sense, they completely eliminate the need for manual blocks and offer the ultimate in convenience. If you frequently camp on uneven terrain, investing in an RV with an auto-leveling system can be a game-changer. For those without, the manual methods discussed here become your go-to.
Ultimately, while leveling blocks are a tried-and-true solution, understanding how to level your RV without them empowers you to adapt to various situations. It’s about being resourceful, observant, and always prioritizing safety. With a little creativity and effort, you can enjoy a level, comfortable RV experience, even when your blocks are staying home.
FAQs
Can I level my RV without using leveling blocks?
Yes, you can level your RV without using leveling blocks by utilizing other methods such as leveling jacks, stabilizer jacks, or leveling ramps.
What are some alternatives to leveling blocks for leveling an RV?
Some alternatives to leveling blocks include leveling jacks, stabilizer jacks, leveling ramps, wooden blocks, and even using the RV’s tires on solid surfaces.
Are there any tips for leveling an RV without leveling blocks?
Some tips for leveling an RV without leveling blocks include parking on a flat surface, using a bubble level to check for levelness, adjusting the jacks or ramps gradually, and checking the levelness of the RV after each adjustment.
Can I damage my RV if it is not leveled properly?
Yes, an RV that is not leveled properly can experience issues such as uneven weight distribution, strain on the frame, difficulty in opening and closing doors, and potential damage to appliances and systems inside the RV.
Is it important to level an RV before using it?
Yes, it is important to level an RV before using it to ensure the safety and comfort of those inside, prevent damage to the RV, and allow appliances and systems to function properly.